A friend (hi, Anna! :)) also has gluten problems and I told her I’ll share this recipe with her. And since I’m already typing it out in English, why not publish it here for any potential fellow celiac baker out there who misses bread and google-stumbles upon this. 🙂 Hi to you, too! 🙂
Yeasted water
So, I’ve tried making this bread with buckwheat sourdough, but it tasted too sour for my taste. I could have experimented further, but I’m not the only one eating this bread in my family and since I read about an alternative method using yeasted water, I opted for that instead. (Update, November 1st 2020: i have now had success with making sourdough that doesn’t taste sour, new, faster recipe coming soon. :))
Here’s the basics: fruits and vegetables with edible skin, like apples, pears, plums, tomatoes have yeast on them. So do herbs, but I have found they can taste overpowering (looking at you, rosemary!) in a bread. There is also yeast in any flour, that’s what makes making sourdough possible. Anyhoo, if you wash said piece of fruit or vegetable to get rid of the nasty microbes, you apparently don’t also wash out yeasts that are there. And you can help this yeasty fellows to multiply and grow and use them for baking bread. Another type of little creatures also present are lactobacilli that also multiply when you feed them. They can overtake the process if there is not enough food (sugar) for yeast and yeasts start to die off, lactobacilli then eat them and multiply further, making the yeasted water smell and taste sour. And if yeasted water is sour, so is the bread made with it (Update, November 26th, 2020: same goes for sourdough, if it smell like yogurt, it’s ok, if it smells more acidic than that, the bread will be sour, no matter how short a time you let it rise. Because, as I have learned through the year, it is better to let the dough rise just a bit, not to the brim of the basket, because this overpowering of lactobacilli can happen at any stage). You can prevent the lactobacilli overpowering yeast if you feed your yeasted water often, thus avoiding the sour taste in bread.
What you need:
- food jar with a lid (like this one)
- 1 apple (or a handful of raisins)
- 1 tsp sugar or honey
- water
How to do it:
- Wash the apple and cut it in 8 pieces.
- Put the apple pieces in a clean food jar, add a tablespoon of sugar and pour water to fill the jar.
- Put a lid on, loosely, and let it sit on the kitchen counter for 2-5 days (it takes longer in winter), until you see bubbles developing. Yeasted water is done once the liquid bubbles up like champagne.
- Discard the apple pieces. Your yeasted water is now ready to use. What you don’t use, you feed with a generous amount of sugar (1 to 2 tabelspoons) and store with the lid tightly screwed on in the refrigerator.
- In three to five days, when you make another loaf of bread, just take the yeasted water out of the fridge. What you don’t use for the starter, feed again with sugar and put it back in the fridge. When there’s just a few tablespoons of yeasted water left, add another cut apple or raisins to it, some sugar and cover it with water. It will be ready to use in a day or two.
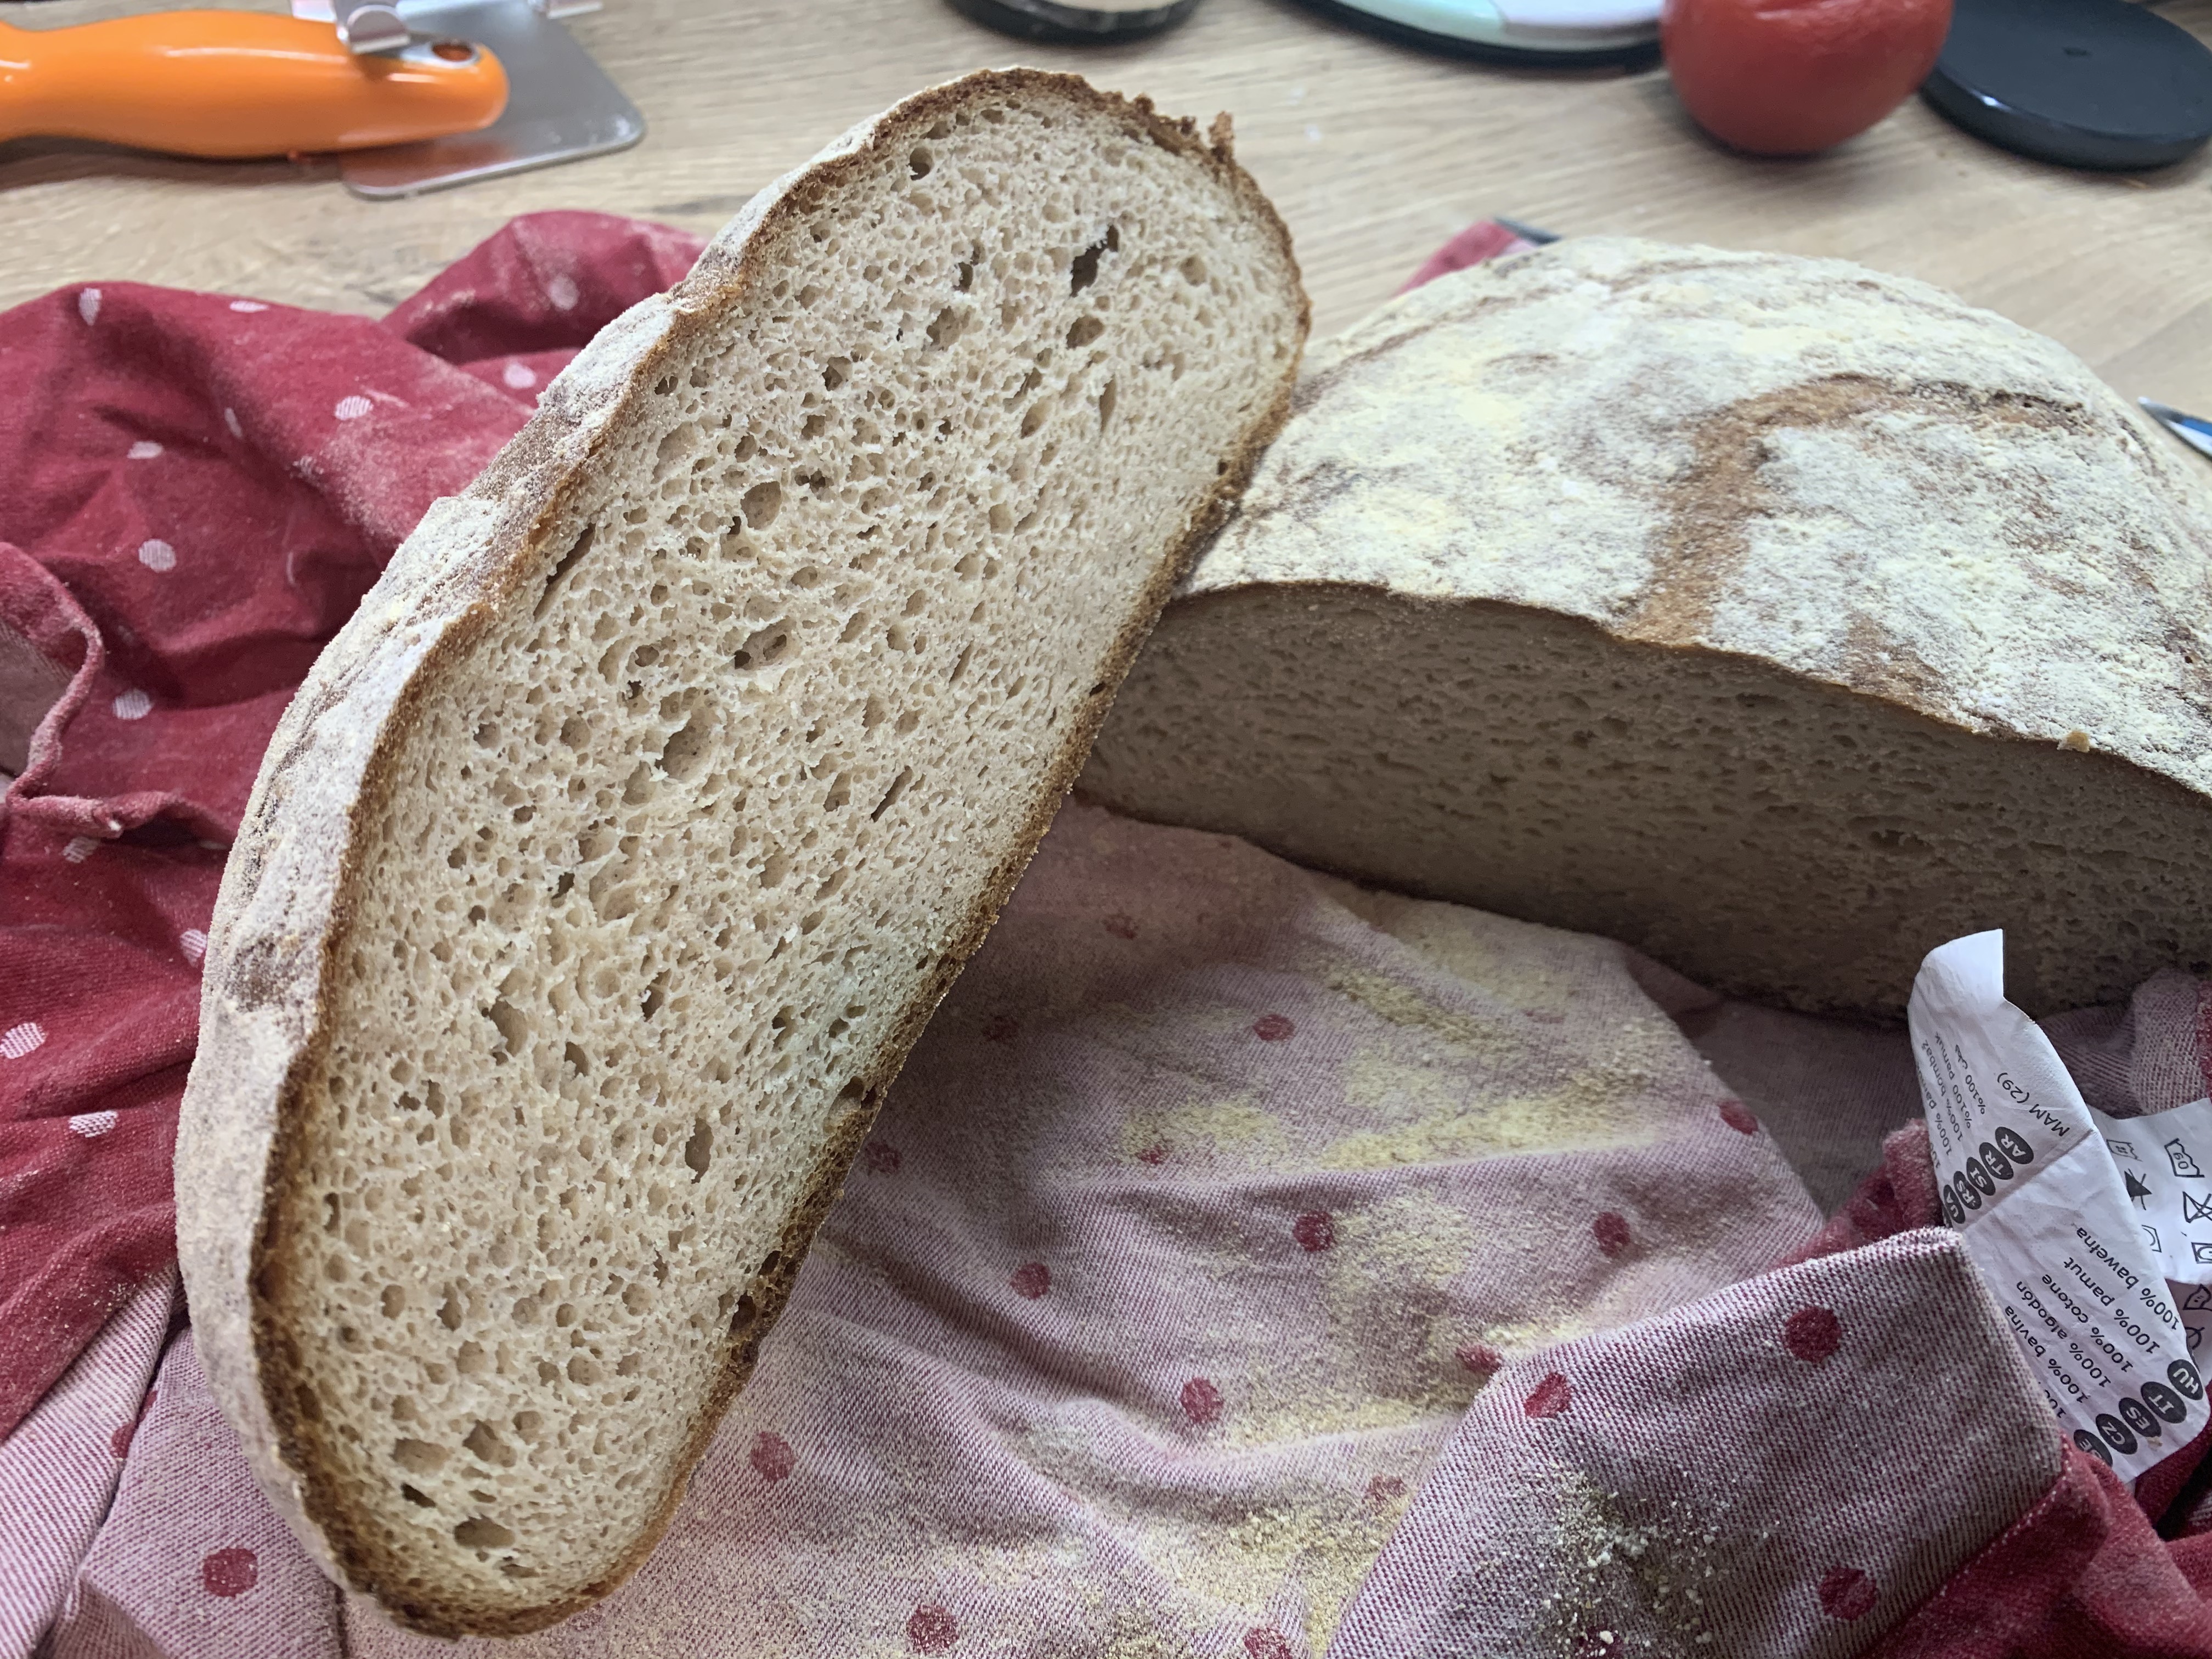
Now, how to use this magic water to make bread that tastes like bread? And that actually stays fresh longer than wheat bread. Yup, you read that right, this bread is just as good on the first day as it is on the fifth (if it gets to live that long :)).
Gluten-free yeasted-water-fermented bread
This bread takes very little effort, it just needs time. I have discovered quite by accident how to make something that already needed little attention even more effortless. This is fermented bread that needs no repeated stretch-and-fold action. Just give yeasts and lactobacilli a chance, to do their job. Here’s how.
First, we’ll make a starter or levain or whatever the correct term is for this process, mixing equal parts yeasted water and flour. Then we’ll wait half a day. Then we’ll add water, psyllium husk as our gluten-replacer (it’s what allows bread to have structure and not collapse into a dense mess :)), wait an hour, then add flour and salt, knead it well for five minutes in a machine (or by hand, especially great when you first try this recipe so you get the feel of how the dough changes during the kneading process), form a loaf with wet hands and put it in a floured basket to rise for another half a day. Then we score it and in the oven it goes, covered, for 55 minutes. After it’s baked, we need to wait until it completely cools down, if we cut it while still hot or warm, the heat will escape too quickly and the bread will be wet. So another half a day for it to cool completely. Now for the deets. 🙂
Ingredients:
- 40 g yeasted water
- 40 g naturally gf flour, most often i use corn, other types of flour you can use are rice, amaranth, millet, buckwheat, chestnut, declared gf oat flour etc.
- 400 and up to 550 g water (100 % rice bread = 400 g water, 100 % corn bread = 550 g water, 100 % buckwheat bread = 450 g water, 1/3 corn, 1/3 buckwheat, 1/3 rice flour = 500 g water, 1/2 corn, 1/2 buckwheat flour = 500 g water)
- 30 g powdered psyllium husk (10 % of flour’s weight, so 35 grams for the asterix two bulletpoints down 🙂 *)
- 300 g naturally gf flour (this recipe works with any type of gf flour, corn, buckwheat, rice, millet, chestnut, walnut, carob, amaranth, chickpea etc. Except for 100 % buckwheat and 100 % corn bread, where I use just, well, buckwheat and corn :), I usually blend two or three flours together, since some need more moisture (like buckwheat, chestnut or chickpea) and some need less (like rice). I have not used this recipe for gf blends, though, because they contain gums that, as far as I can tell, cause baked gf products to go stale reaaaaaly quickly.) Most often I bake the combination of buckwheat and corn or buckwheat, corn and rice, because that bread tastest like a normal wholegrain wheat bread, especially if you add a mixture of seeds (pumpkin, sunflower, flax seed).
- 5 g salt
Recipe:
I have two small kids and a job (when the younger isn’t sick), so I have found this to be the easiest way to incorporate bread making into everyday without much thought. 🙂
Morning of day 1, preparing the starter:
- In a small bowl combine 40 g of yeasted water with 40 g of gluten-free flour of choice. Cover with cling foil and let it rest on the countertop until evening.
I have found that corn flour is a better choice here, buckwheat flour starter will sometimes smell sour, while that hasn’t happened with corn starter, regardless of how sour or not sour the yeast water was. I usually mix this just before eating breakfast.
Evening of day 1, pre-dinner phase, marriage of psyllium husk, water and starter:
- In a large bowl combine the starter, 500 ml water and 30 (or 35) g of powdered psyllium husk. Mix immediately with a hand-held whisk, as to prevent lumps. Let it rest for 1 hour.
This step is crucial, because it reduces the need for repeated stretch-and-fold routines. What I think happens is, that yeasts and lactobacilli, hungry for food, start munching on psyllium husk and as a result, once the flour and salt are added, the bonds that psyllium forms are already less rigid and more stretchy. The dough is then more pliable and there is no need for repeating stretch-and-fold phases.
Evening of day 1, after-dinner phase, kneading, folding and shaping the bread:
- Add 300 g flour (and 50 g starch, if using) and a tsp of salt to the gelled psyllium husk and starter. Push the flour into the gel with your fingers, and once all the flour is incorporated, start kneading the dough. Knead for about 5 to 10 minutes with hand or about 5 minutes in a machine fitted with a kneading hook.
- When you knead by hand, you will feel the difference in the dough, at first it will feel lumpy and then after some five minutes it will become pliable and stretchable. If the dough sticks to much to your hands, wet them and continue kneading. Every time it sticks more, wet your hands again and knead until you feel the dough has become lump-free and pliable.
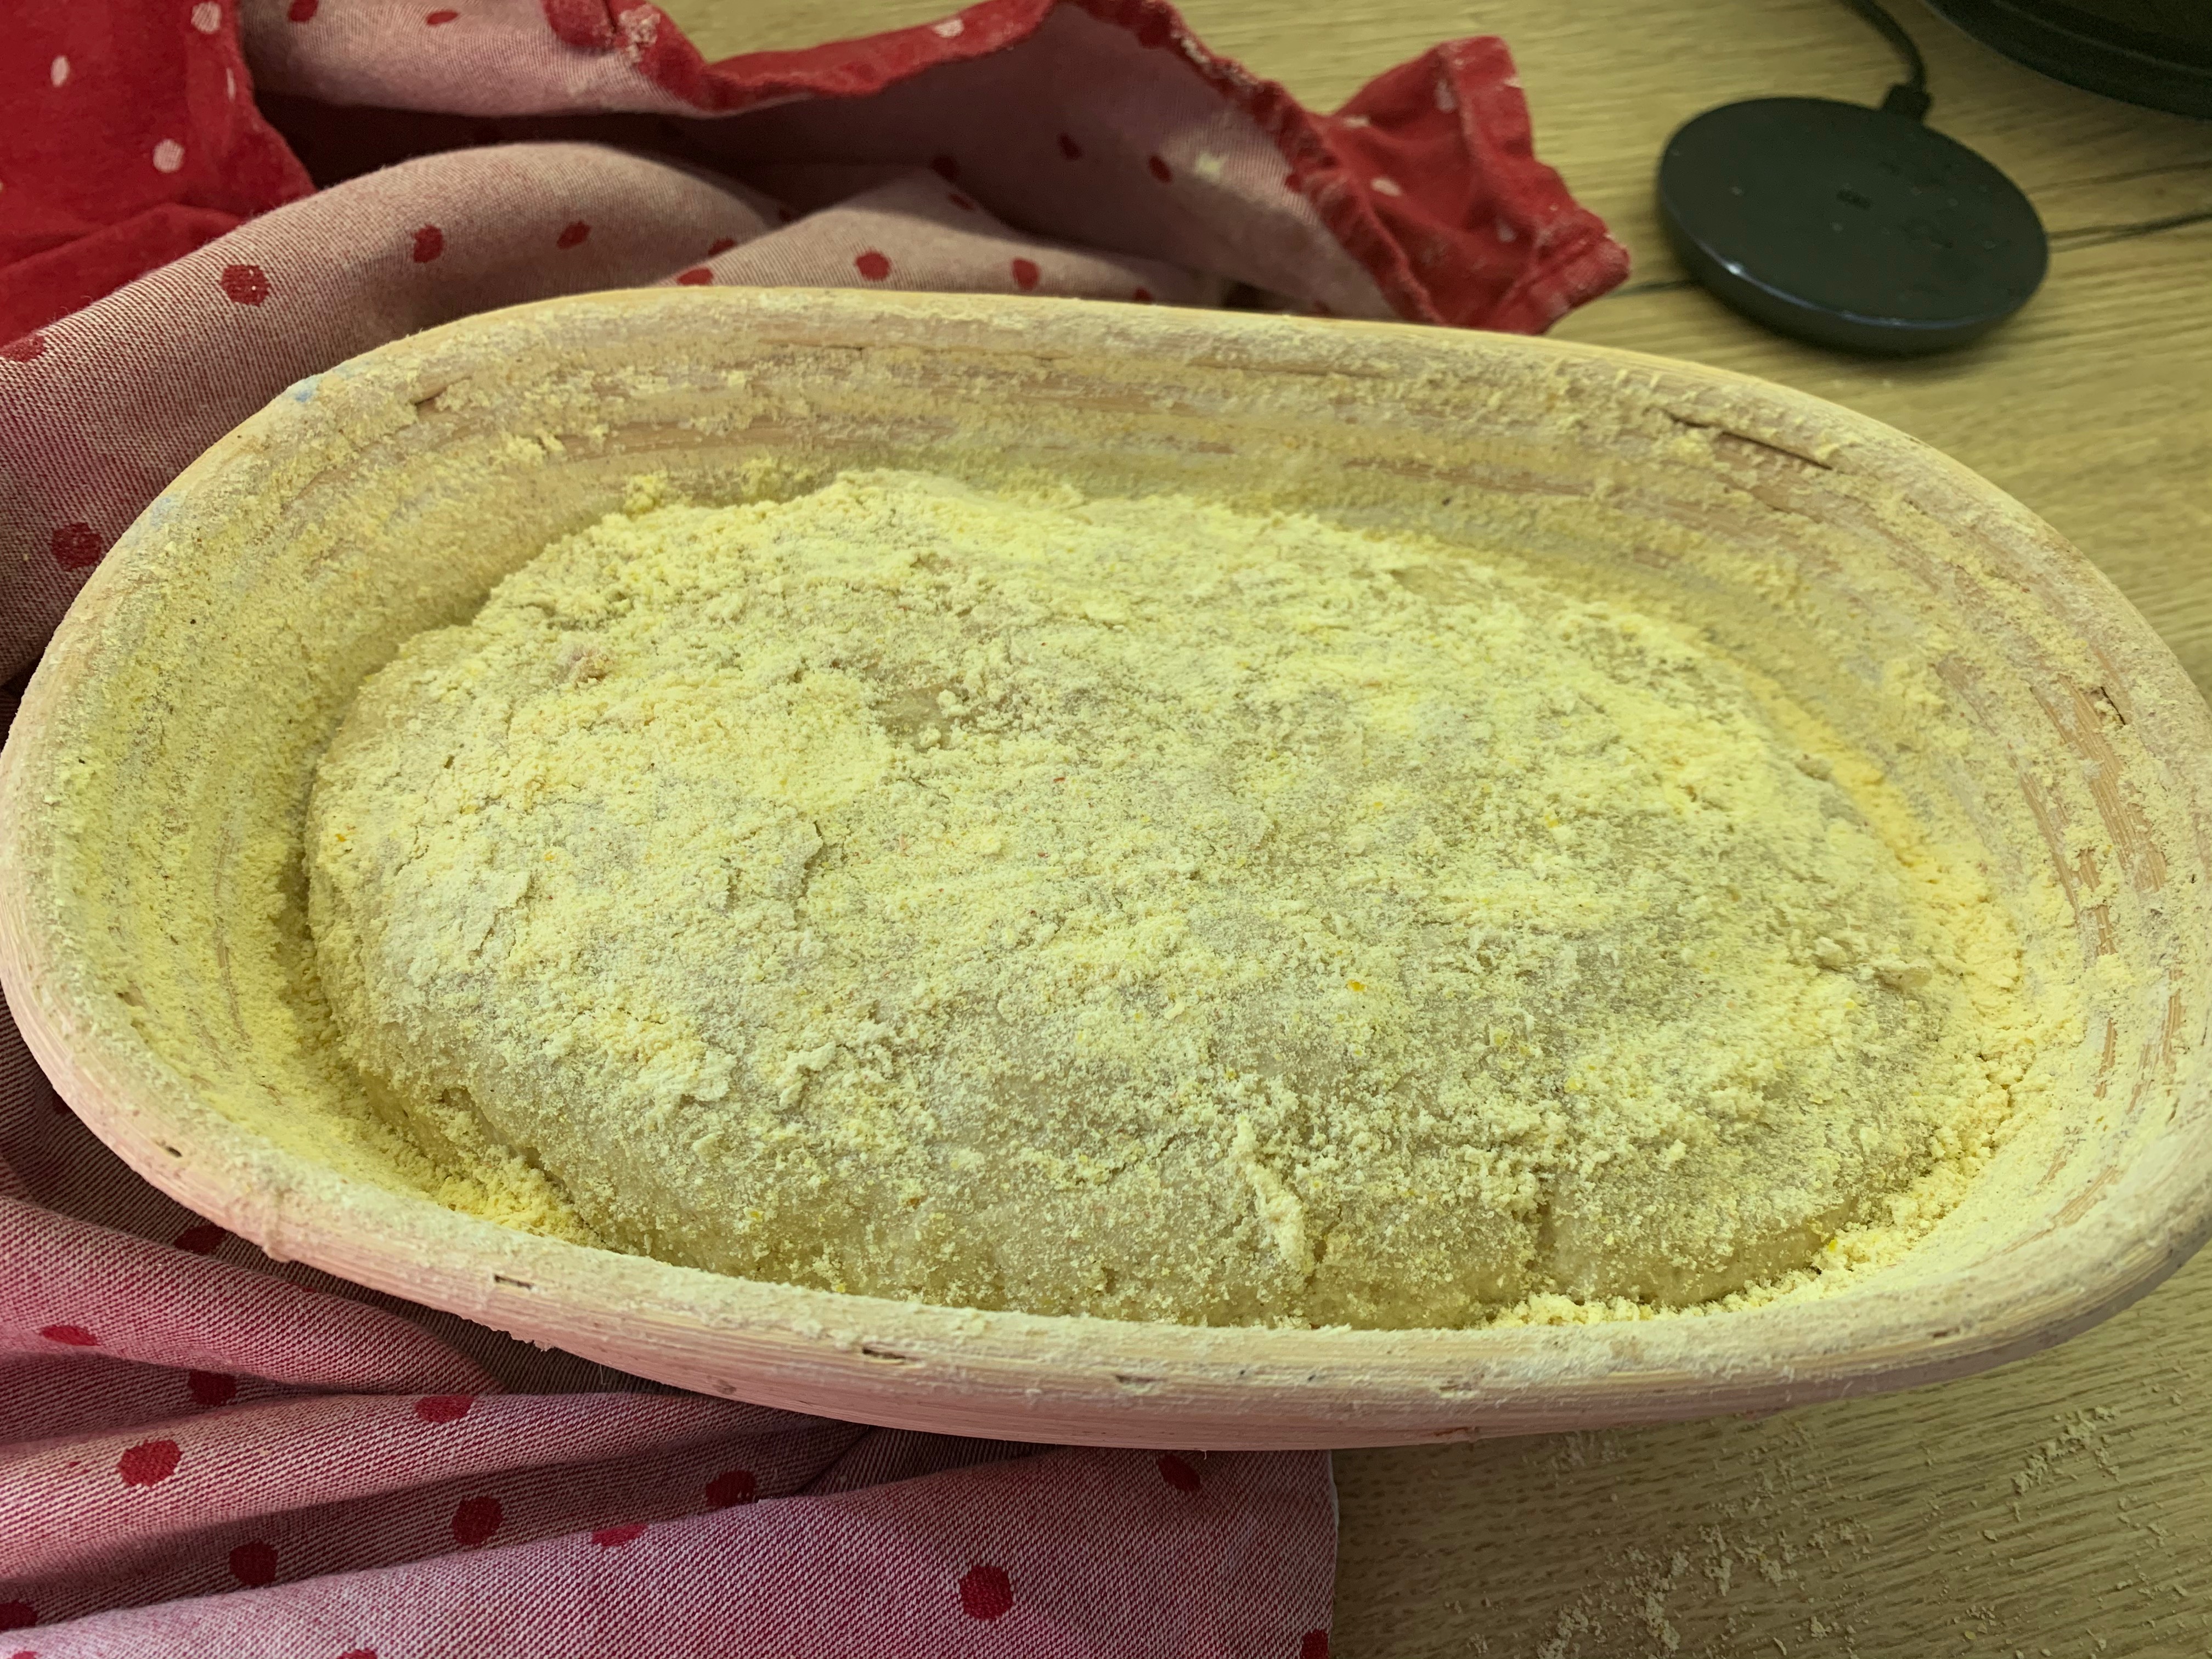
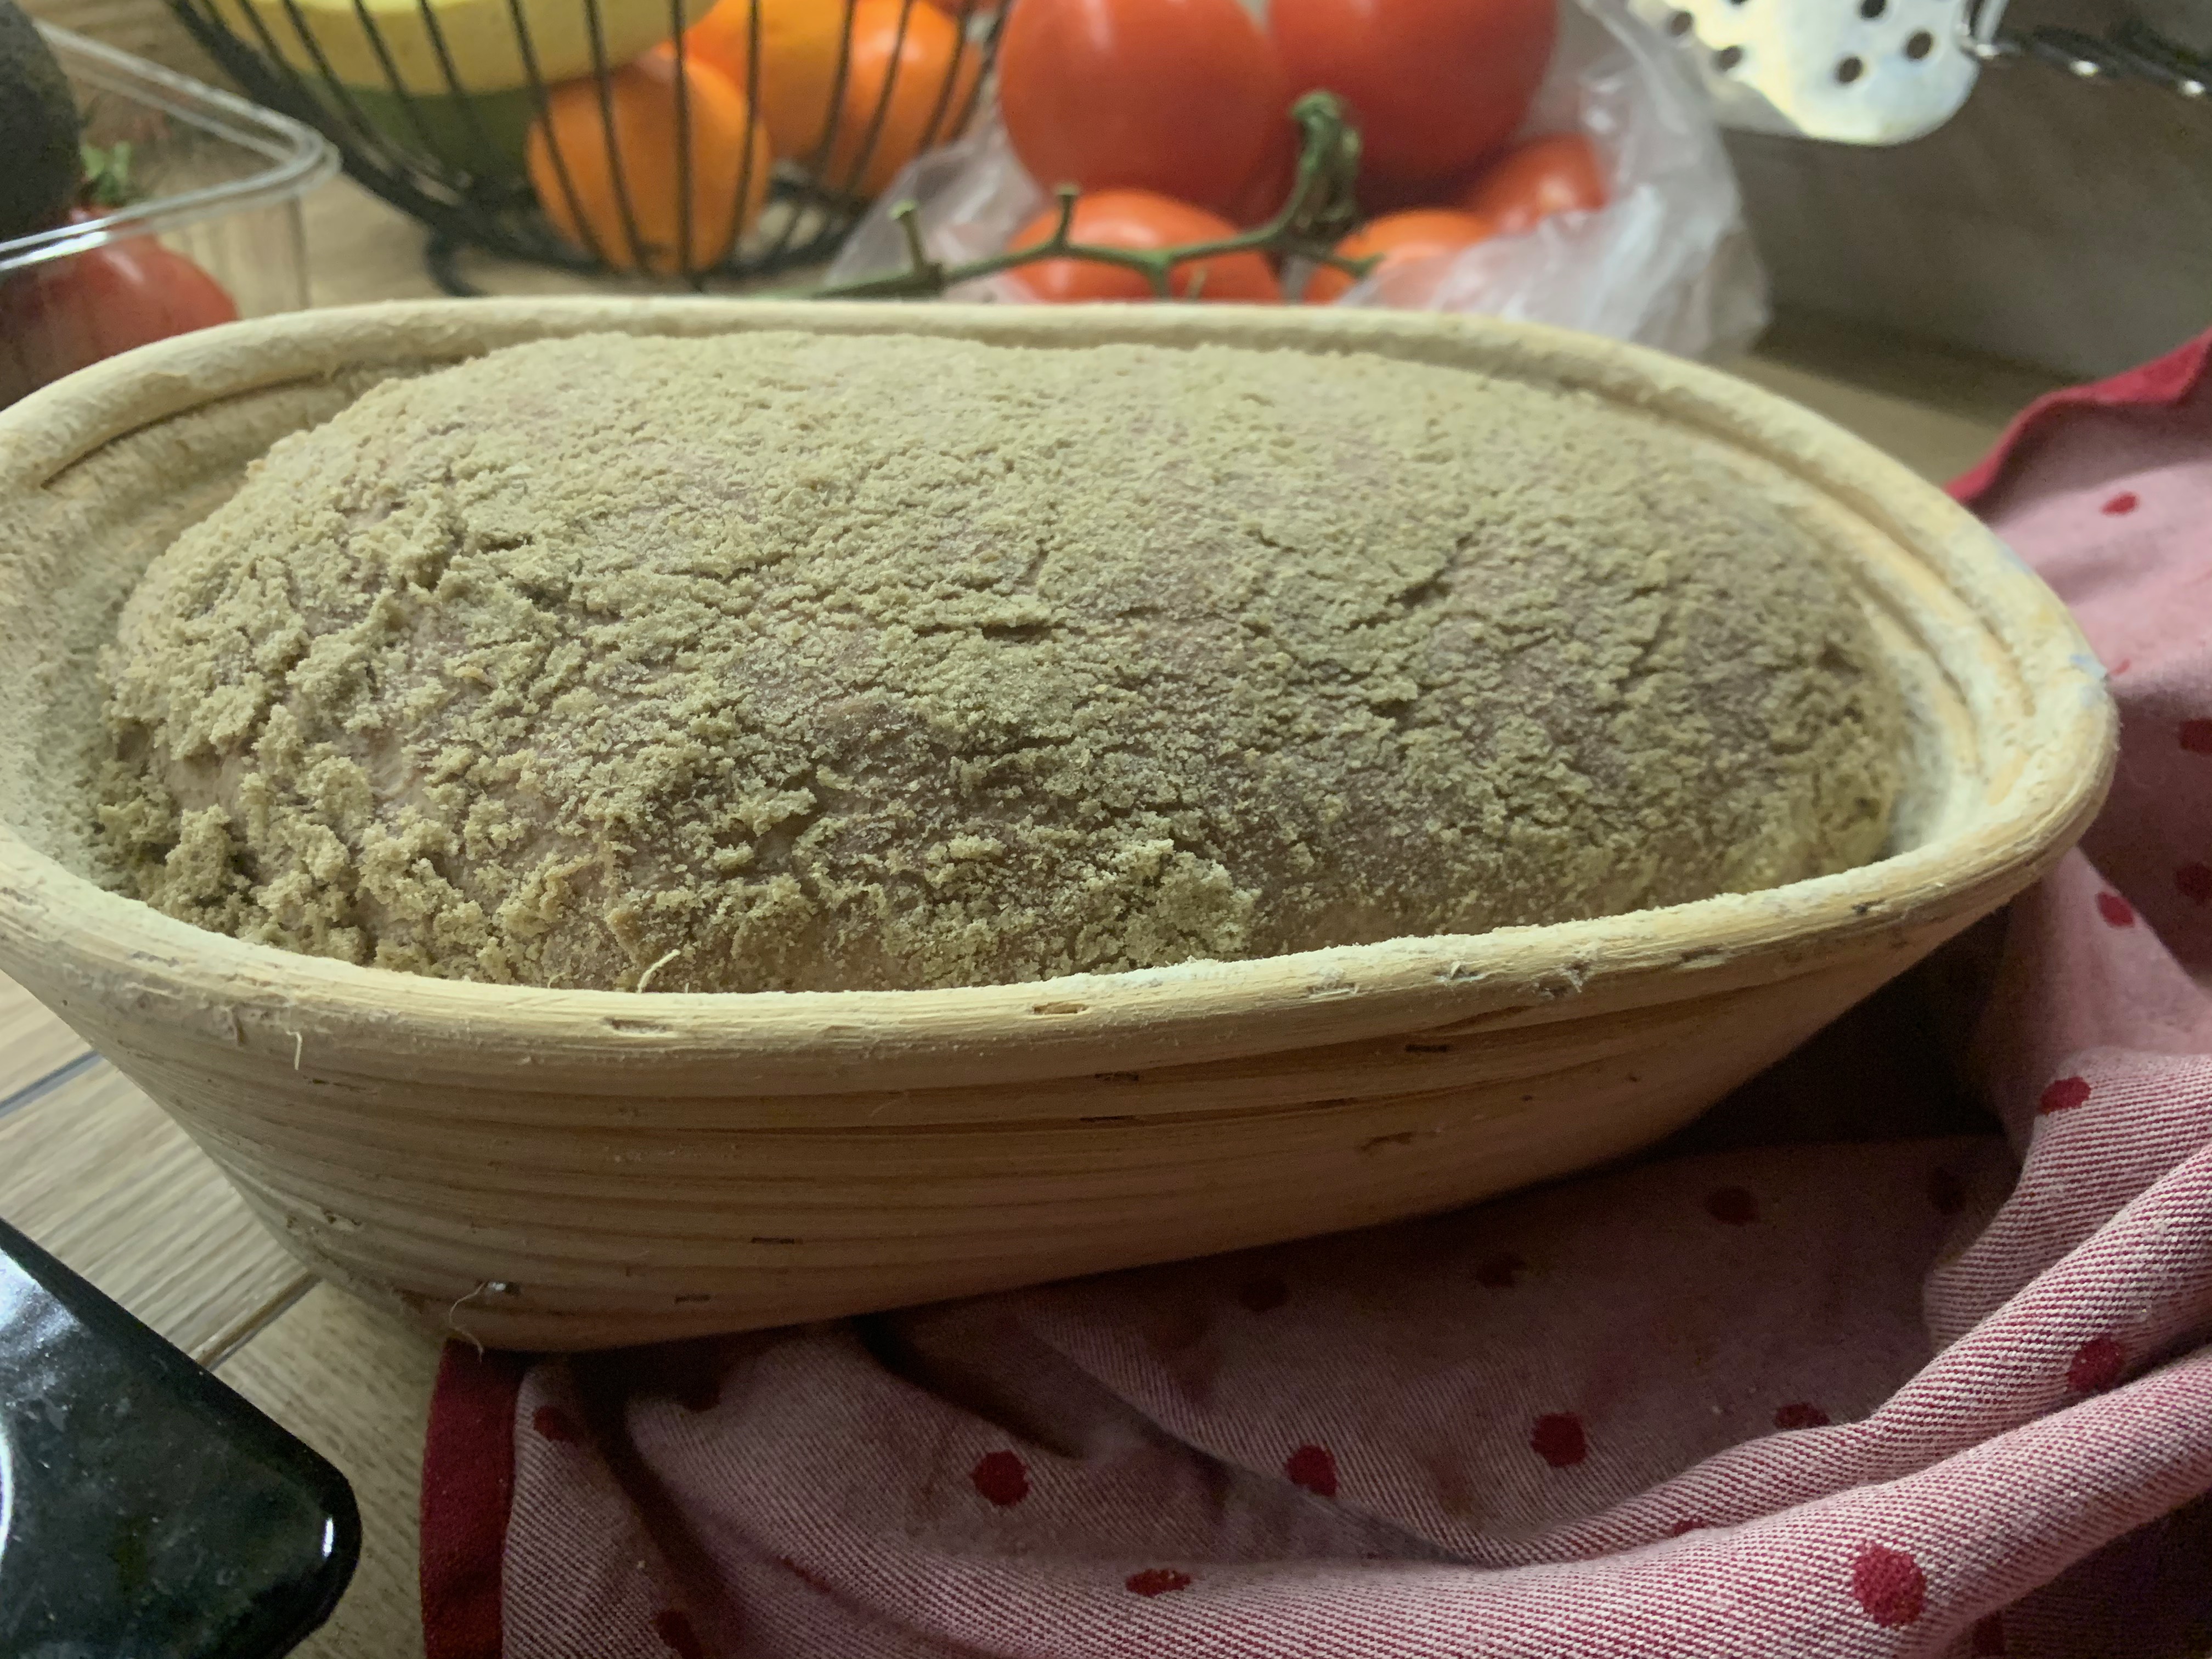
- The dough will be very sticky. Work with wet hands and make a few stretch&folds to shape the dough (just stretch the dough a bit and fold it onto itself, repeat on all sides, to get a ball). Dip your hands in water regularly to prevent the dough sticking to them. The put the shaped dough in a floured basket (or any other floured container, if you don’t yet own a basket) to rise. Cover it with tablecloth, give it a little kiss and wish it to rise well (that’s a ritual in our house at least :), and kids, 1 and 7, love it :)) until the morning. It will have doubled in size by then.
Morning of day 2 aka baking day, scoring and baking the bread:
- In the morning, preheat the oven to 200 degrees C (392 F).
- Put the risen dough on a deep baking tray covered with baking sheet, score the dough with a sharp knife or a scalpel (available in pharmacies :D). Don’t be afraid to cut deep, about a cm (half an inch), the cut will give the dough space to rise into. Then cover the baking tray with another deep baking try. The point is to bake the bread covered, so the steam that develops doesn’t escape and the bread gets a nice crunchy crust. I learned that many years ago when The minimalist published No-knead-bread and have been using the method to bake gluten and gluten-free breads that way.
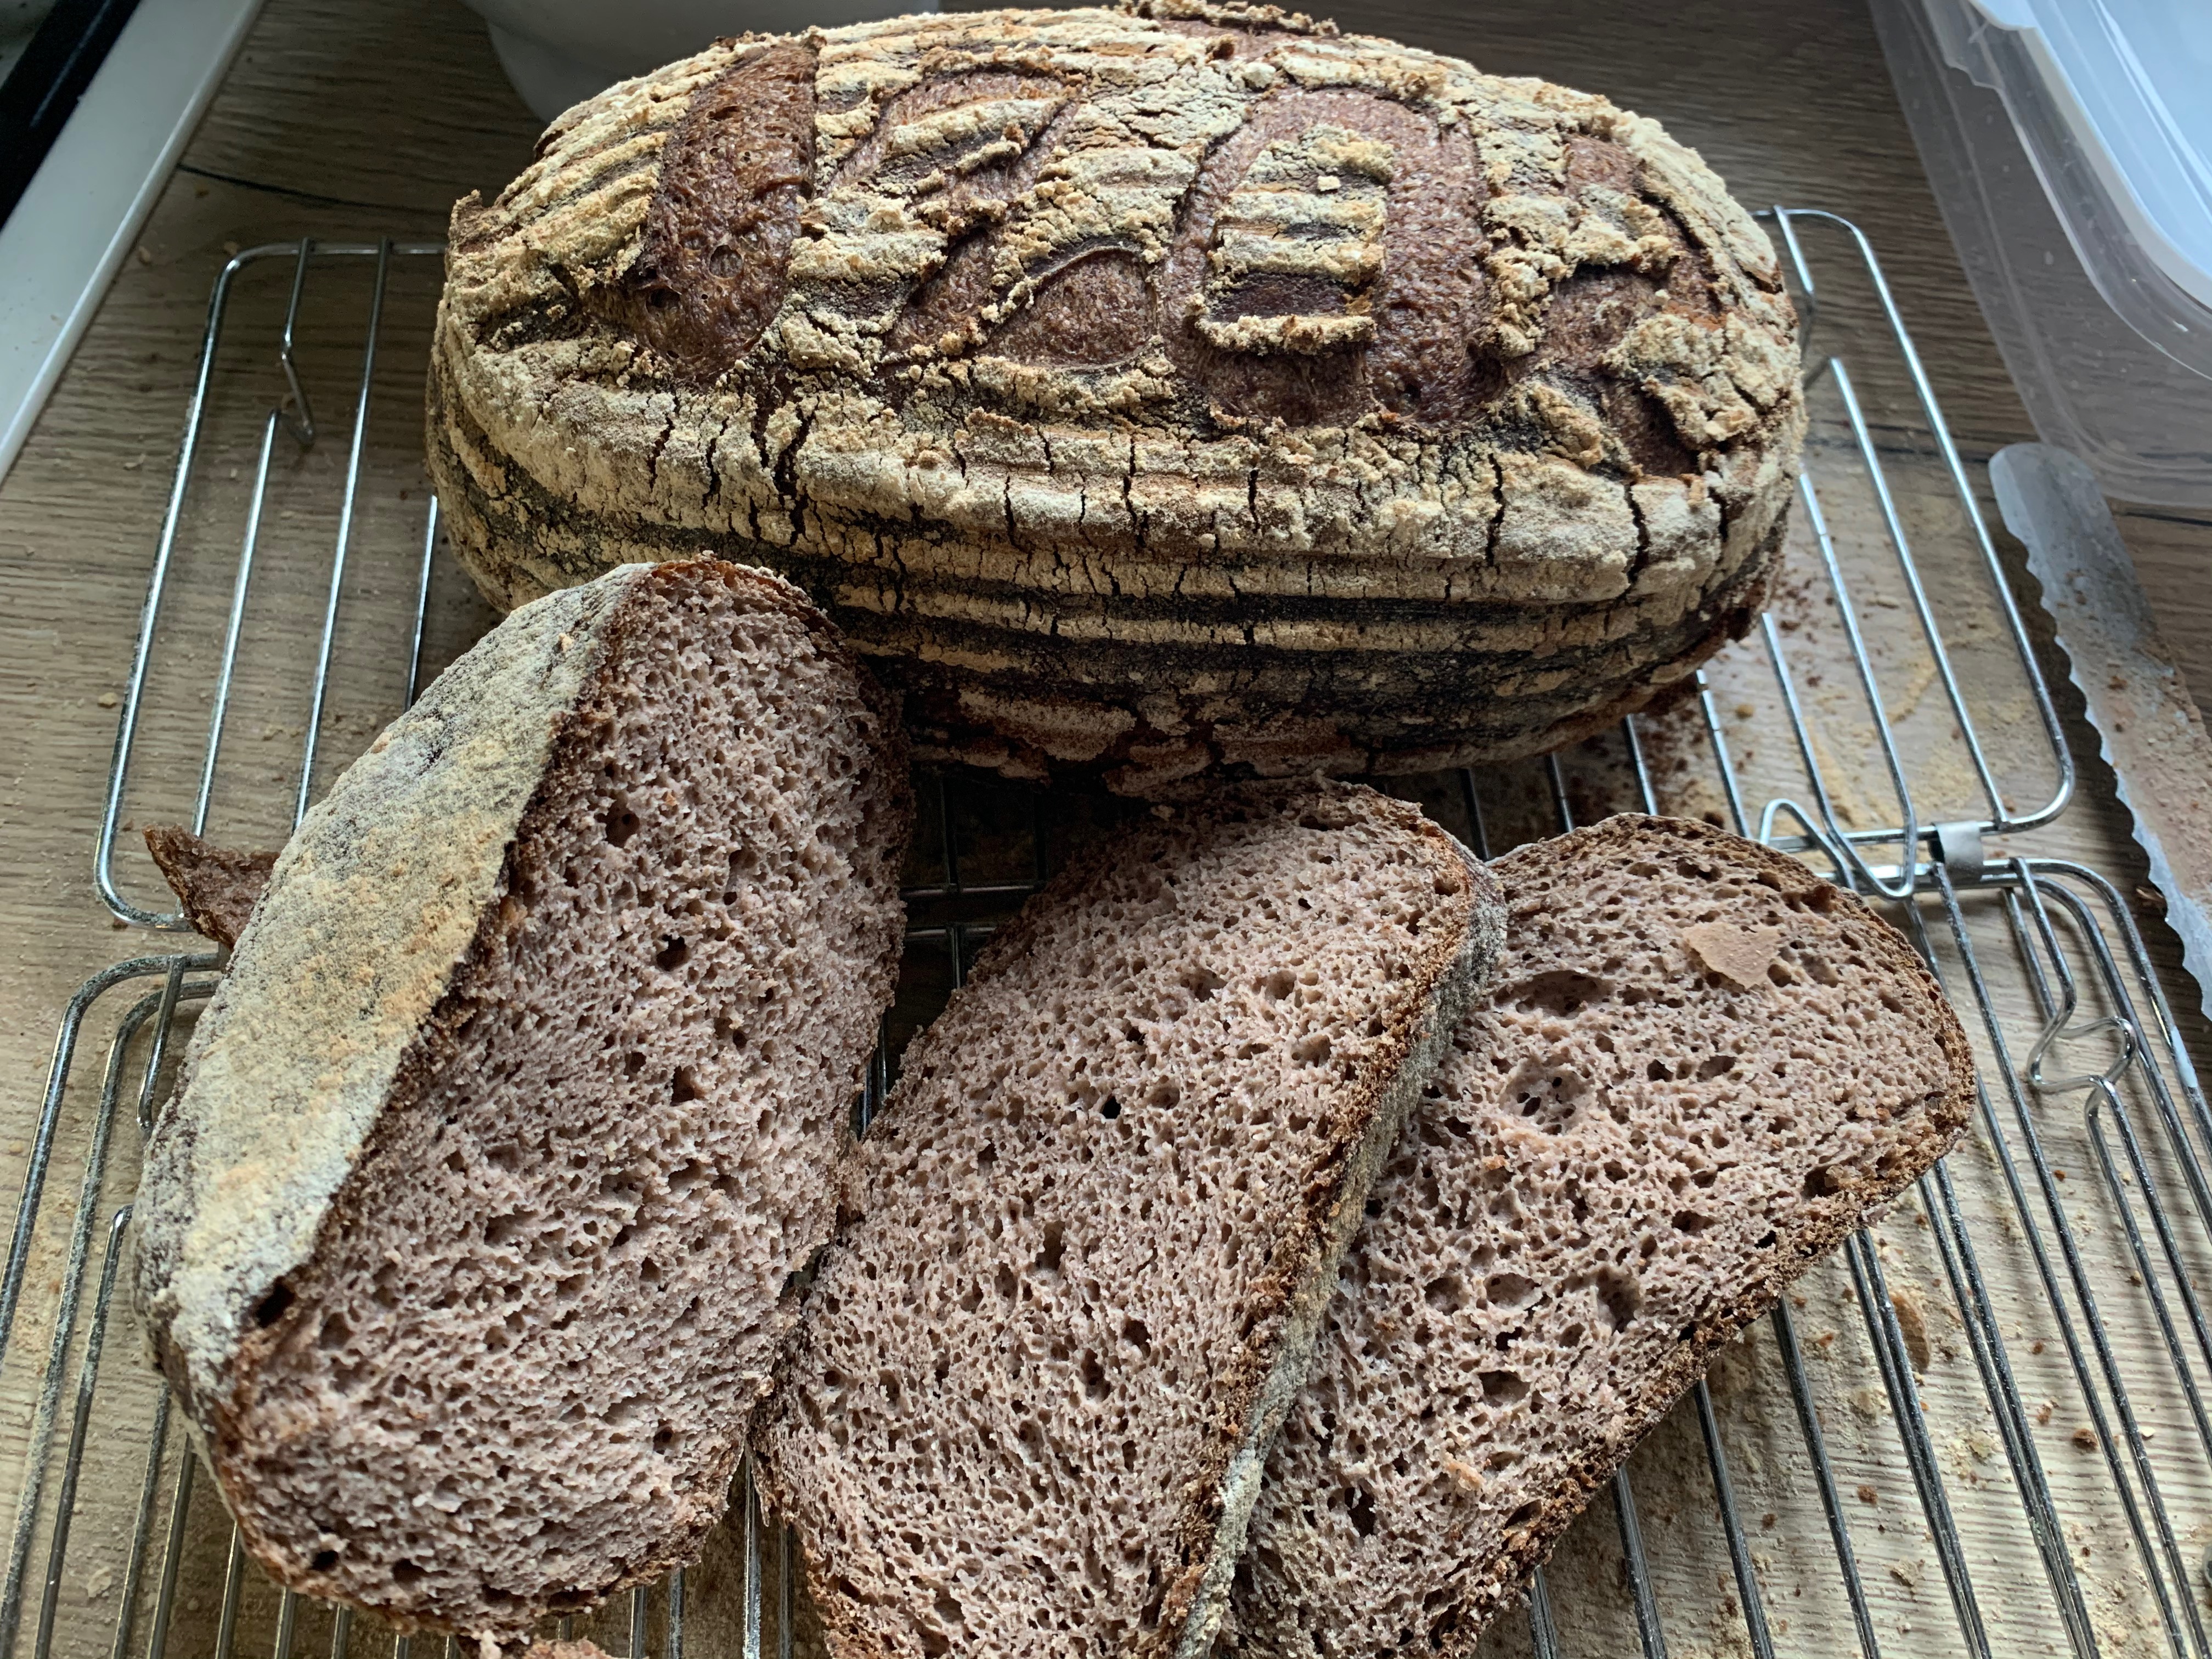
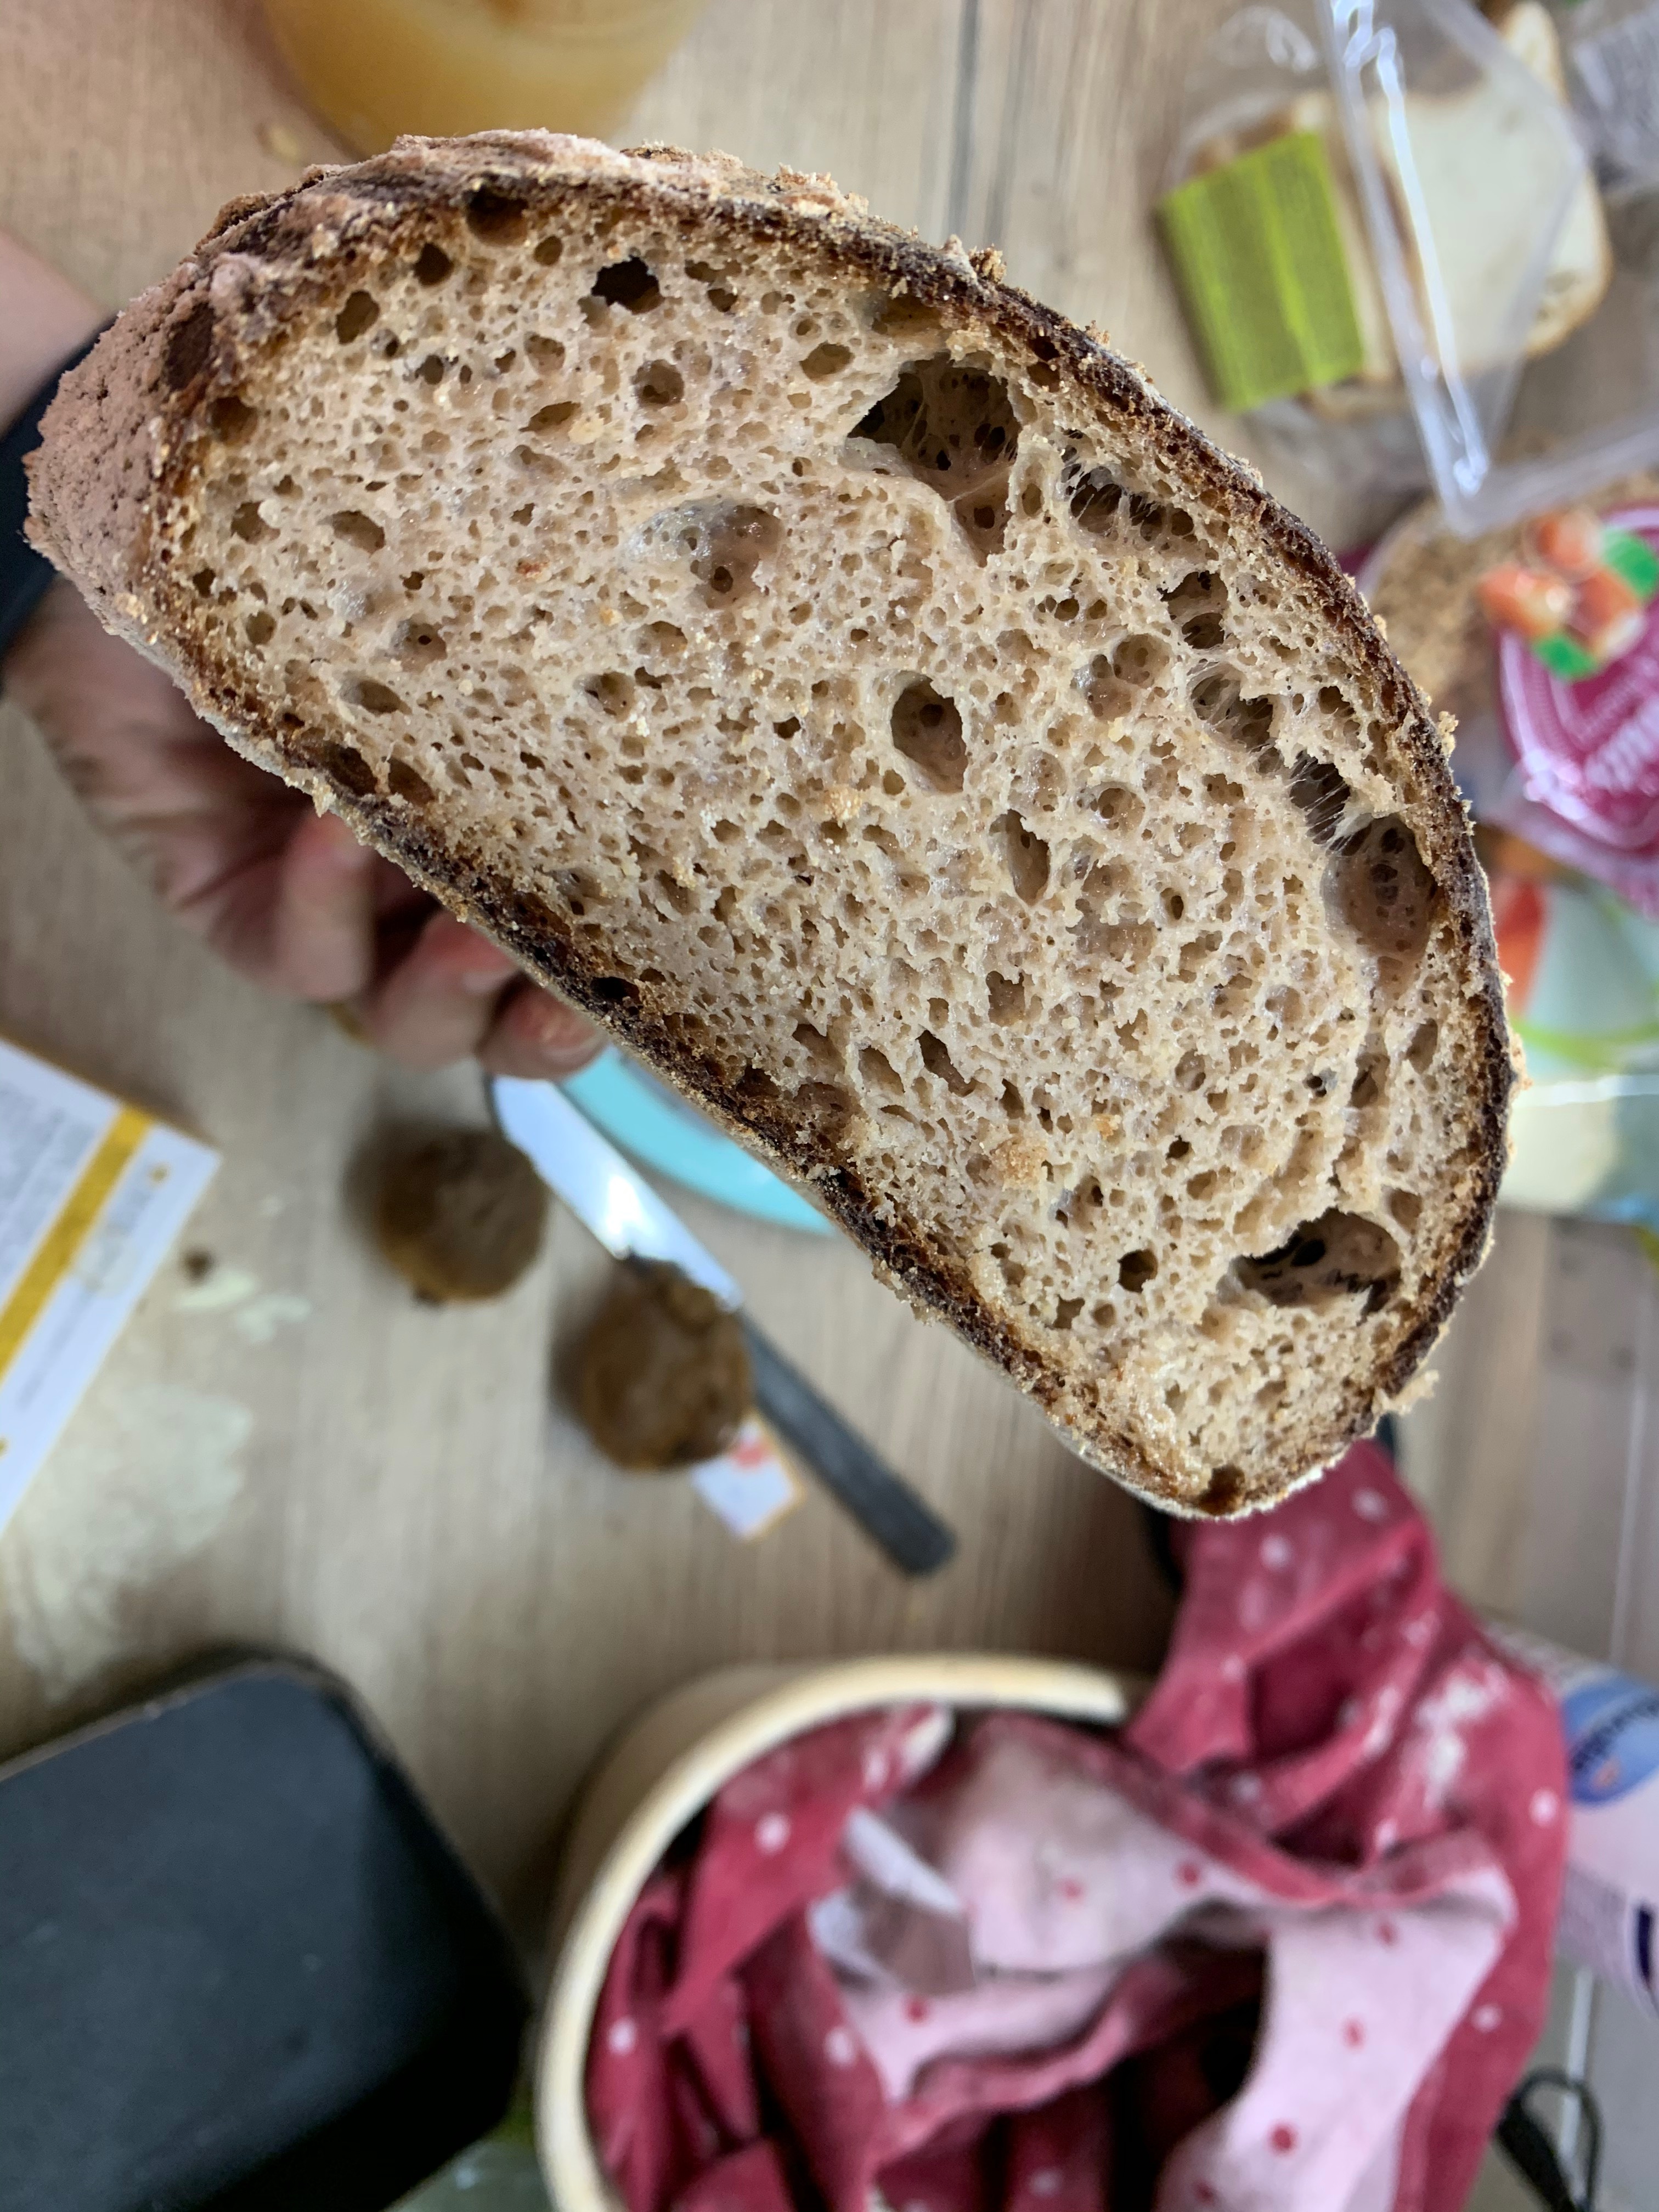
- Bake for 45 minutes, then check if it is done by knocking on it. If it sounds hollow, it is baked, if not, reduce the temperature to 180 C (356 F) and bake it, uncovered, for another 5 minutes. Then transfer the bread to the cooling rack and let it cool completely before cutting into it. If you cut it before it completely cools down, it won’t collapse, but the heat will escape and the bread will be very, very, very moist. You do not want that, trust me. 😀
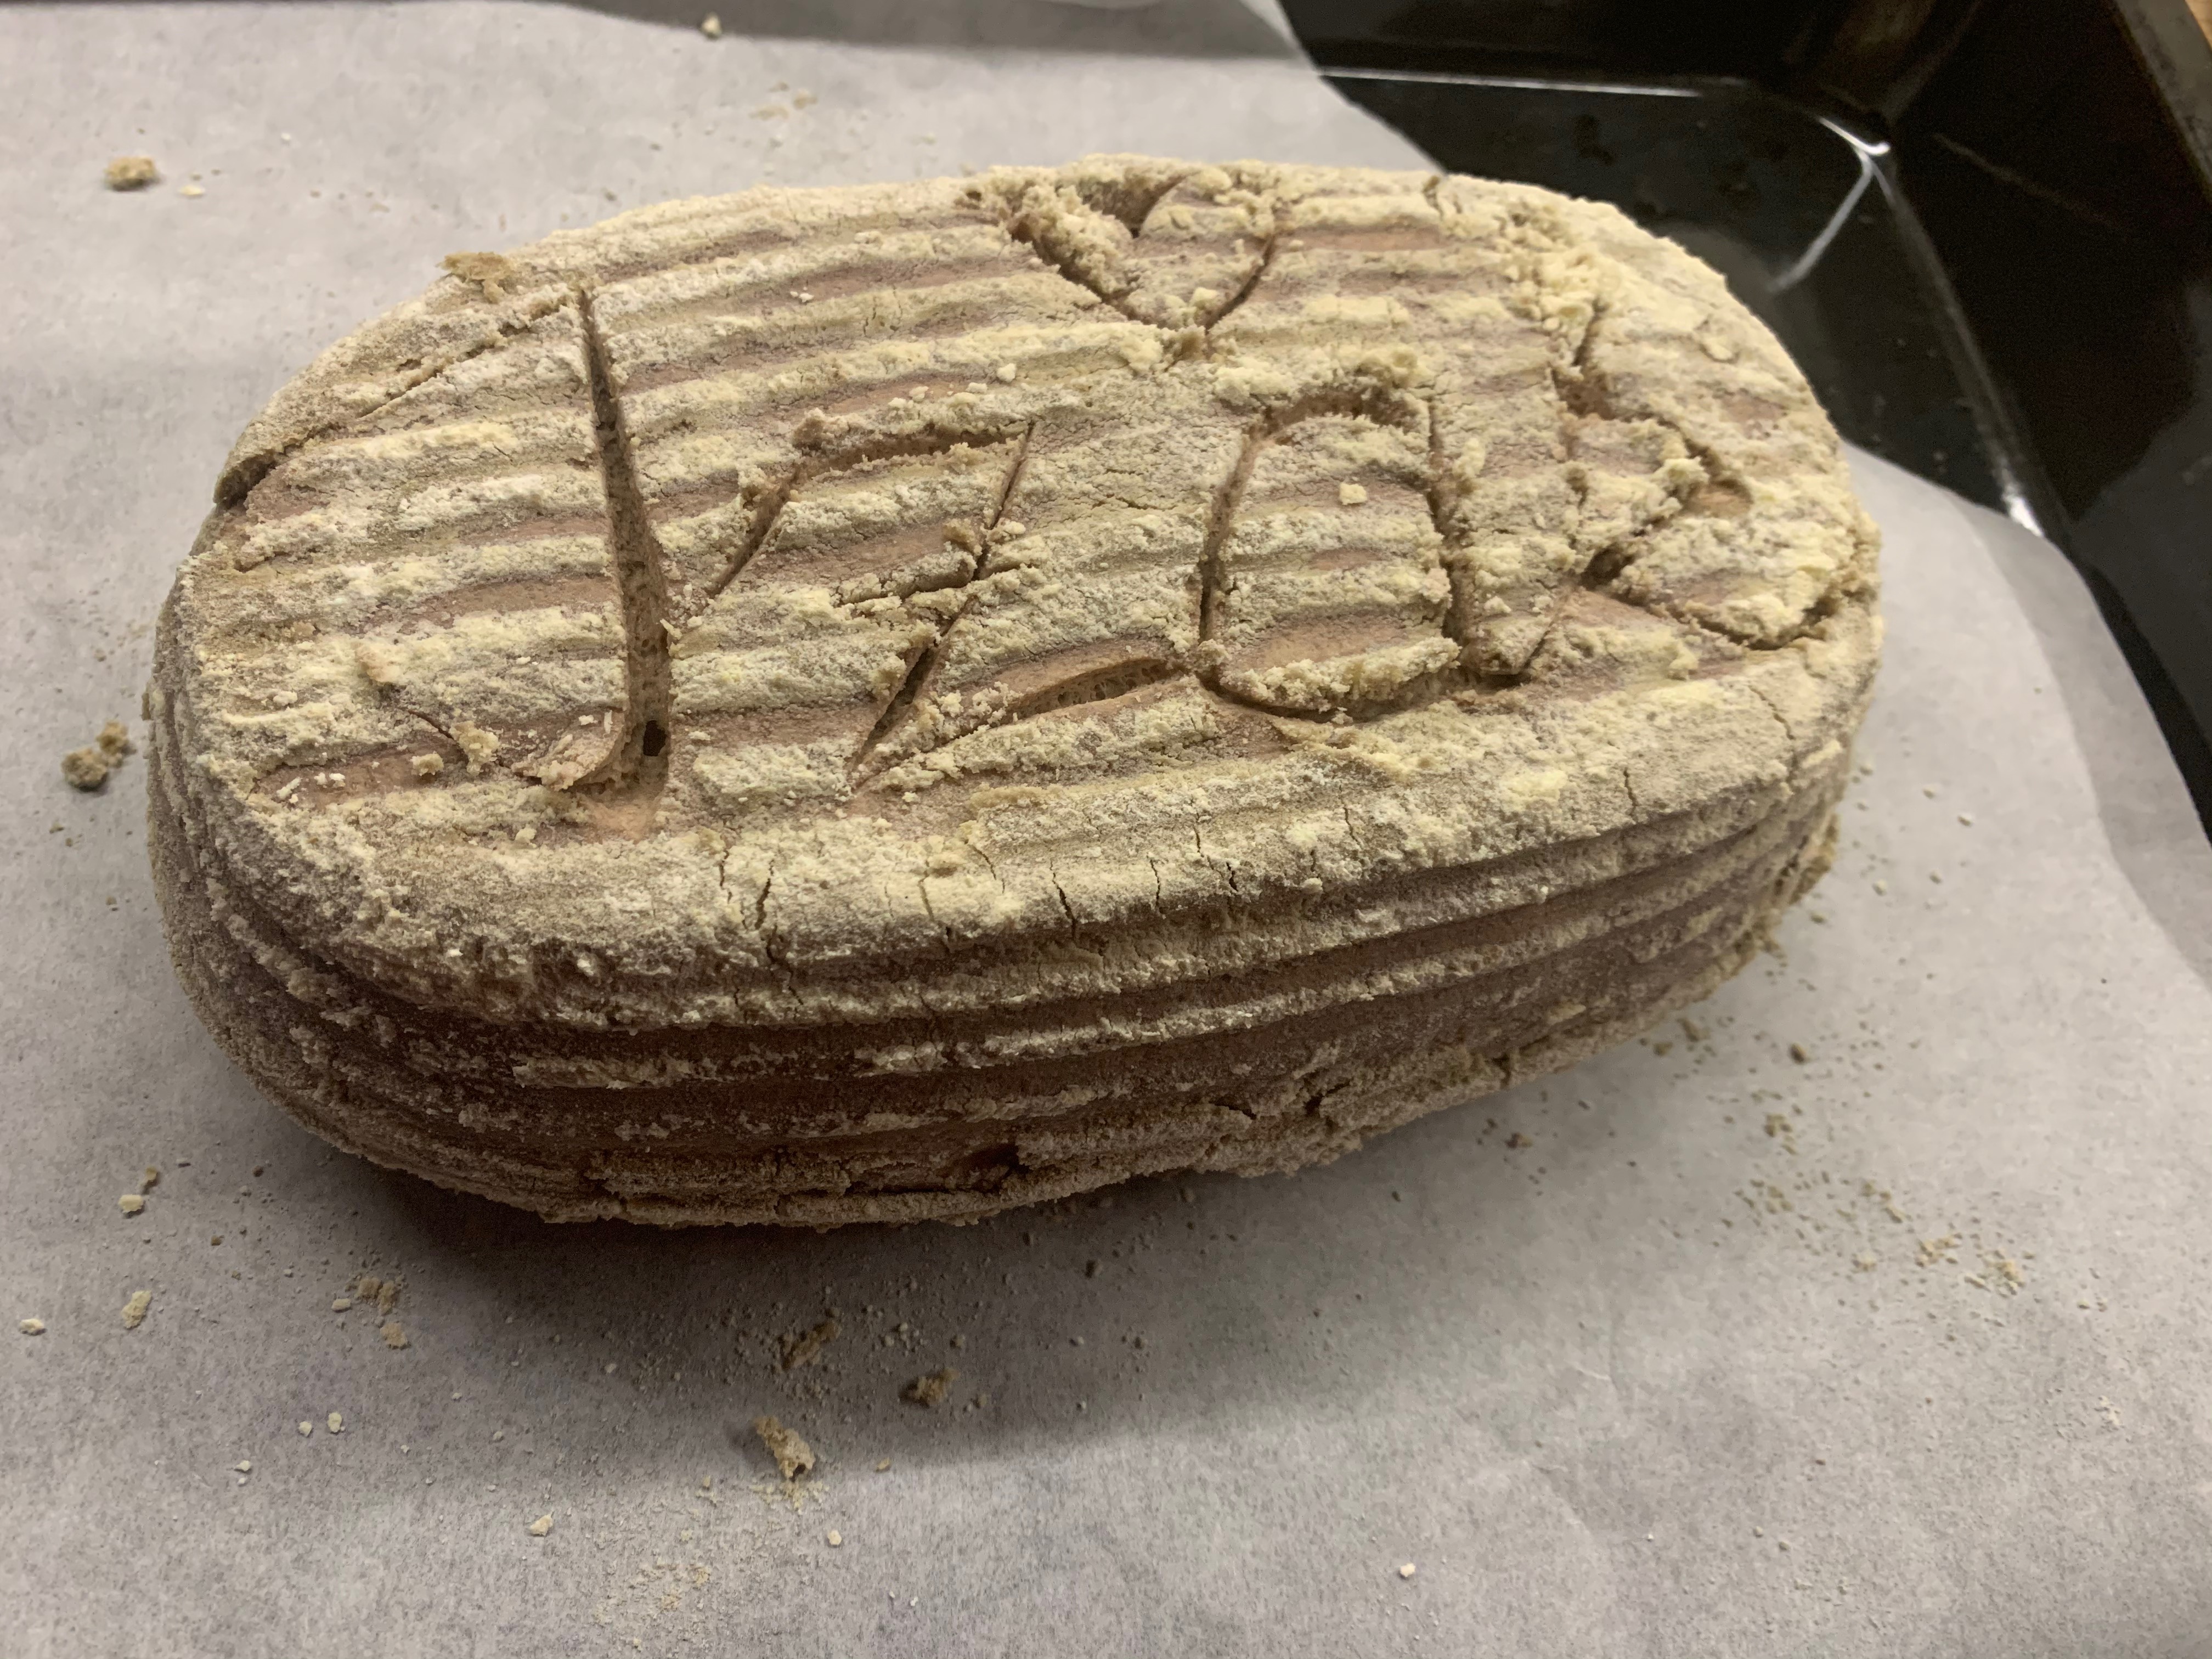
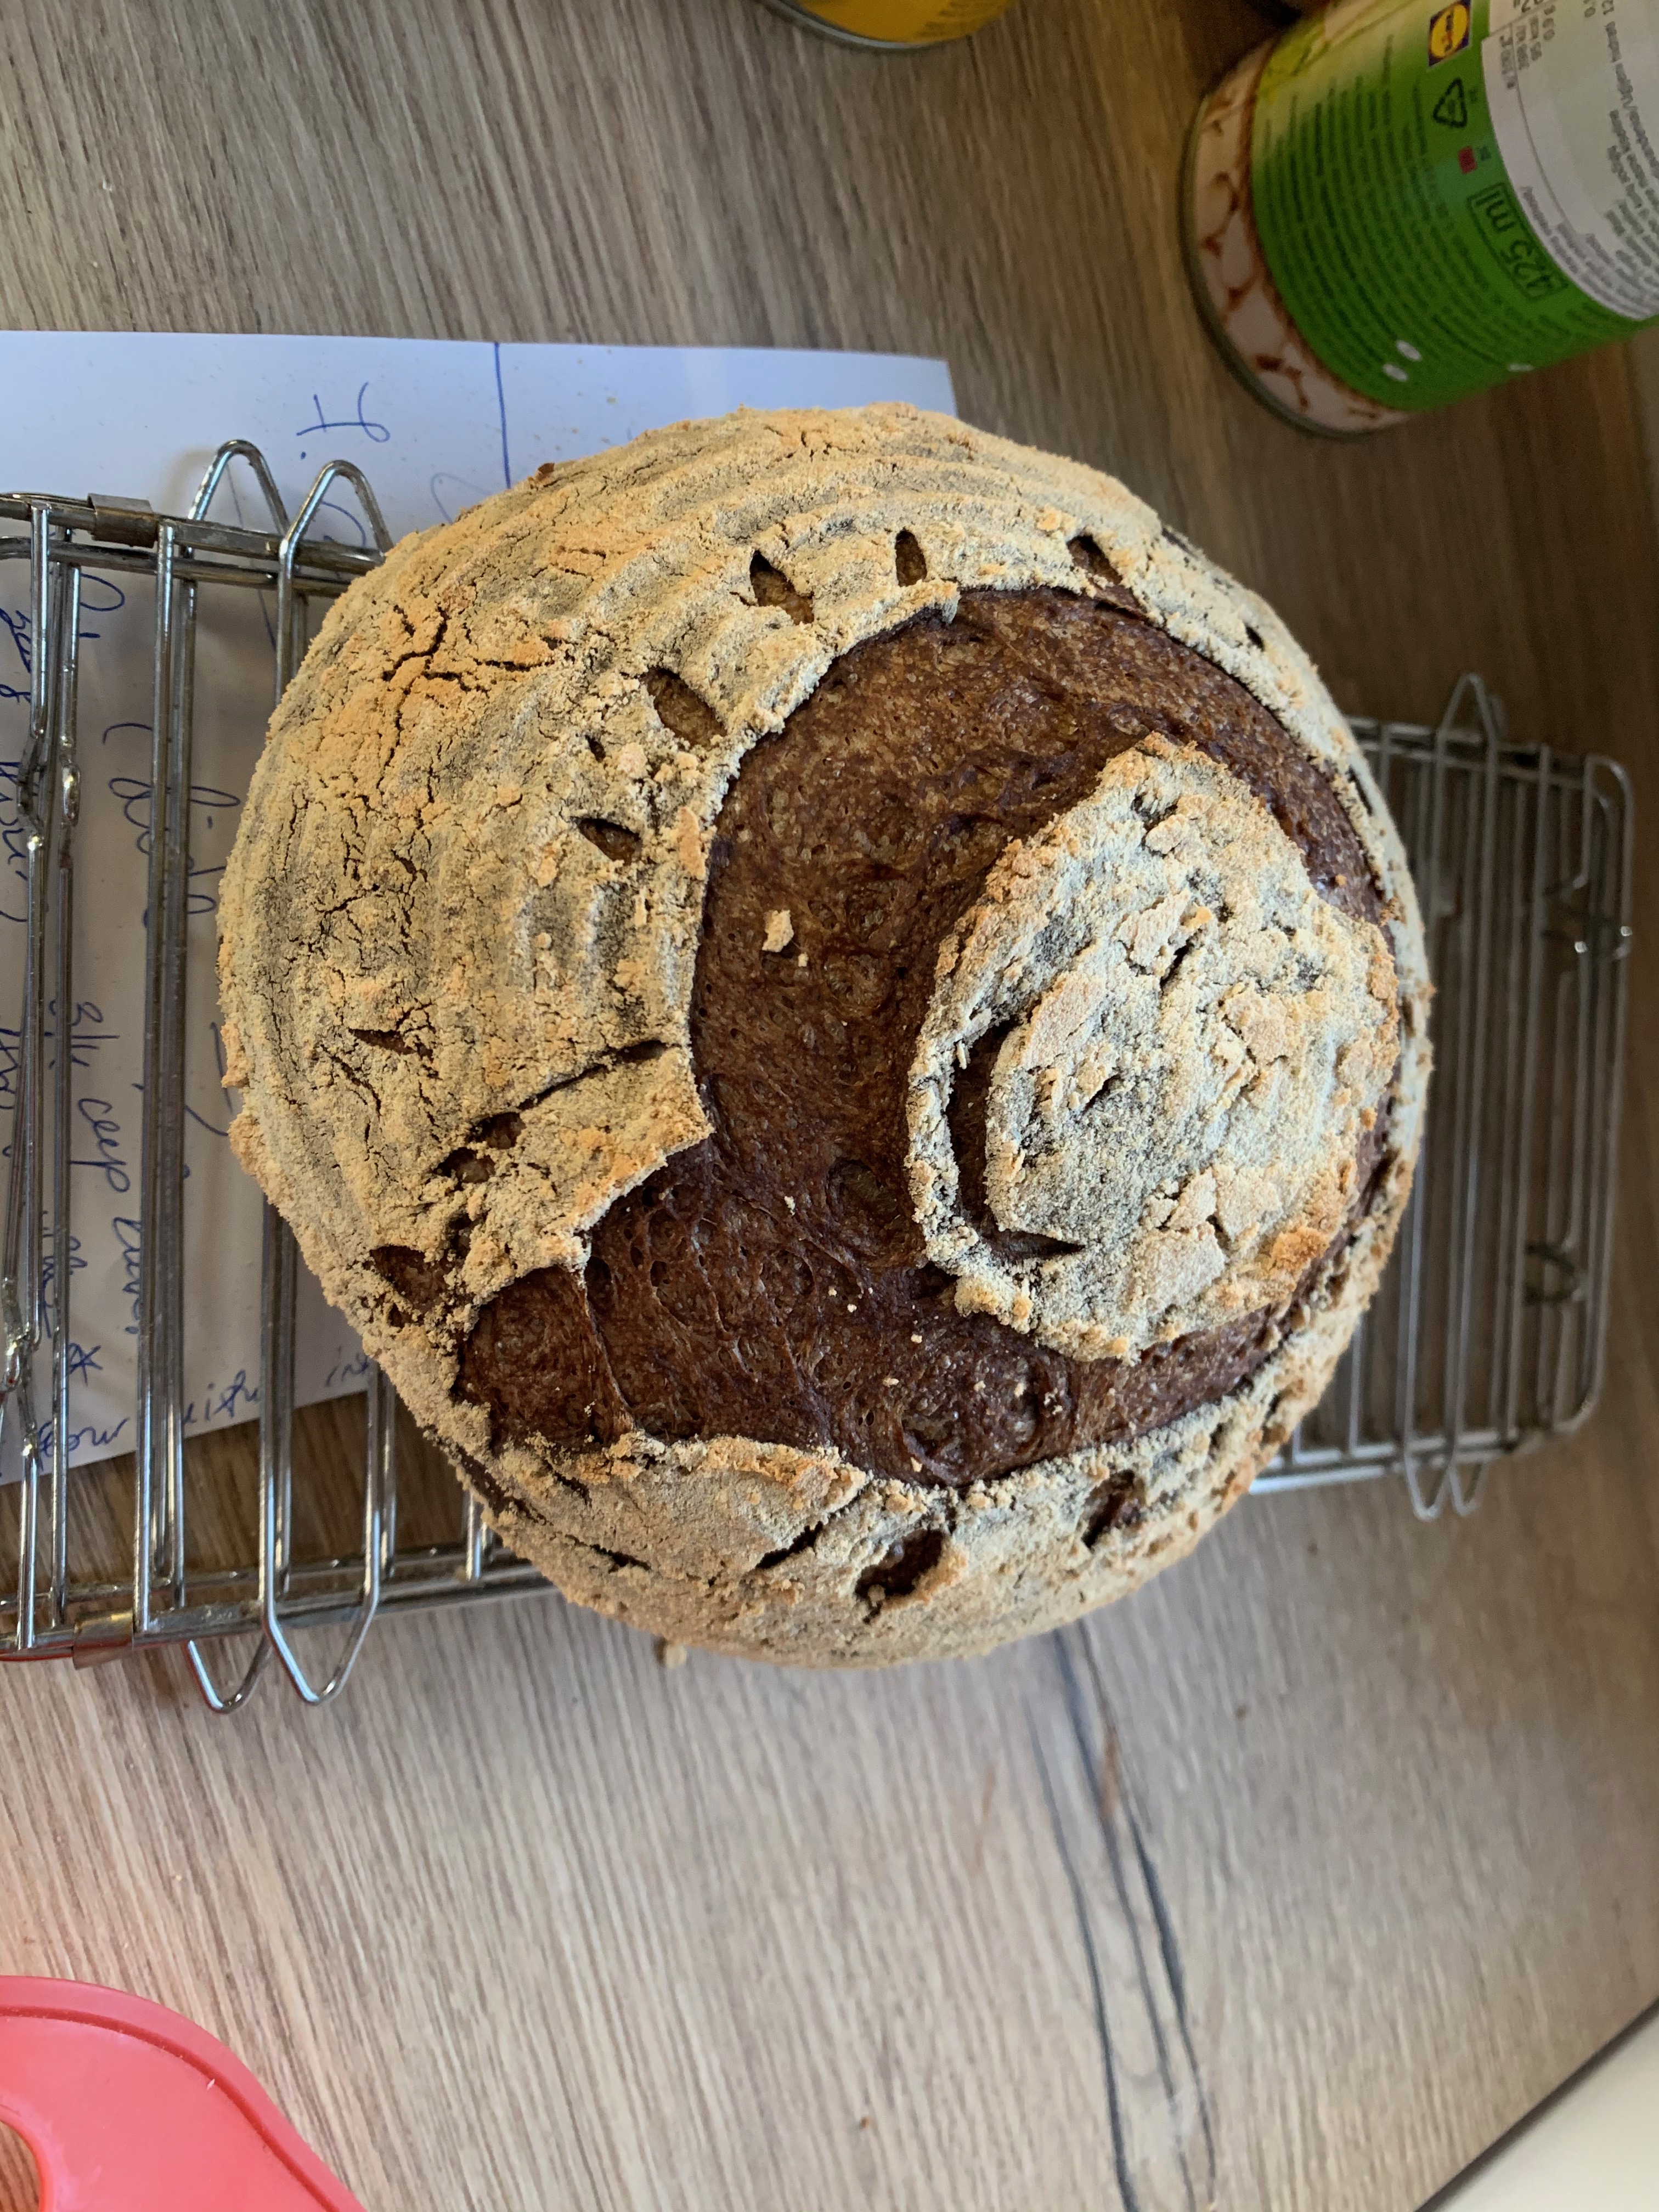
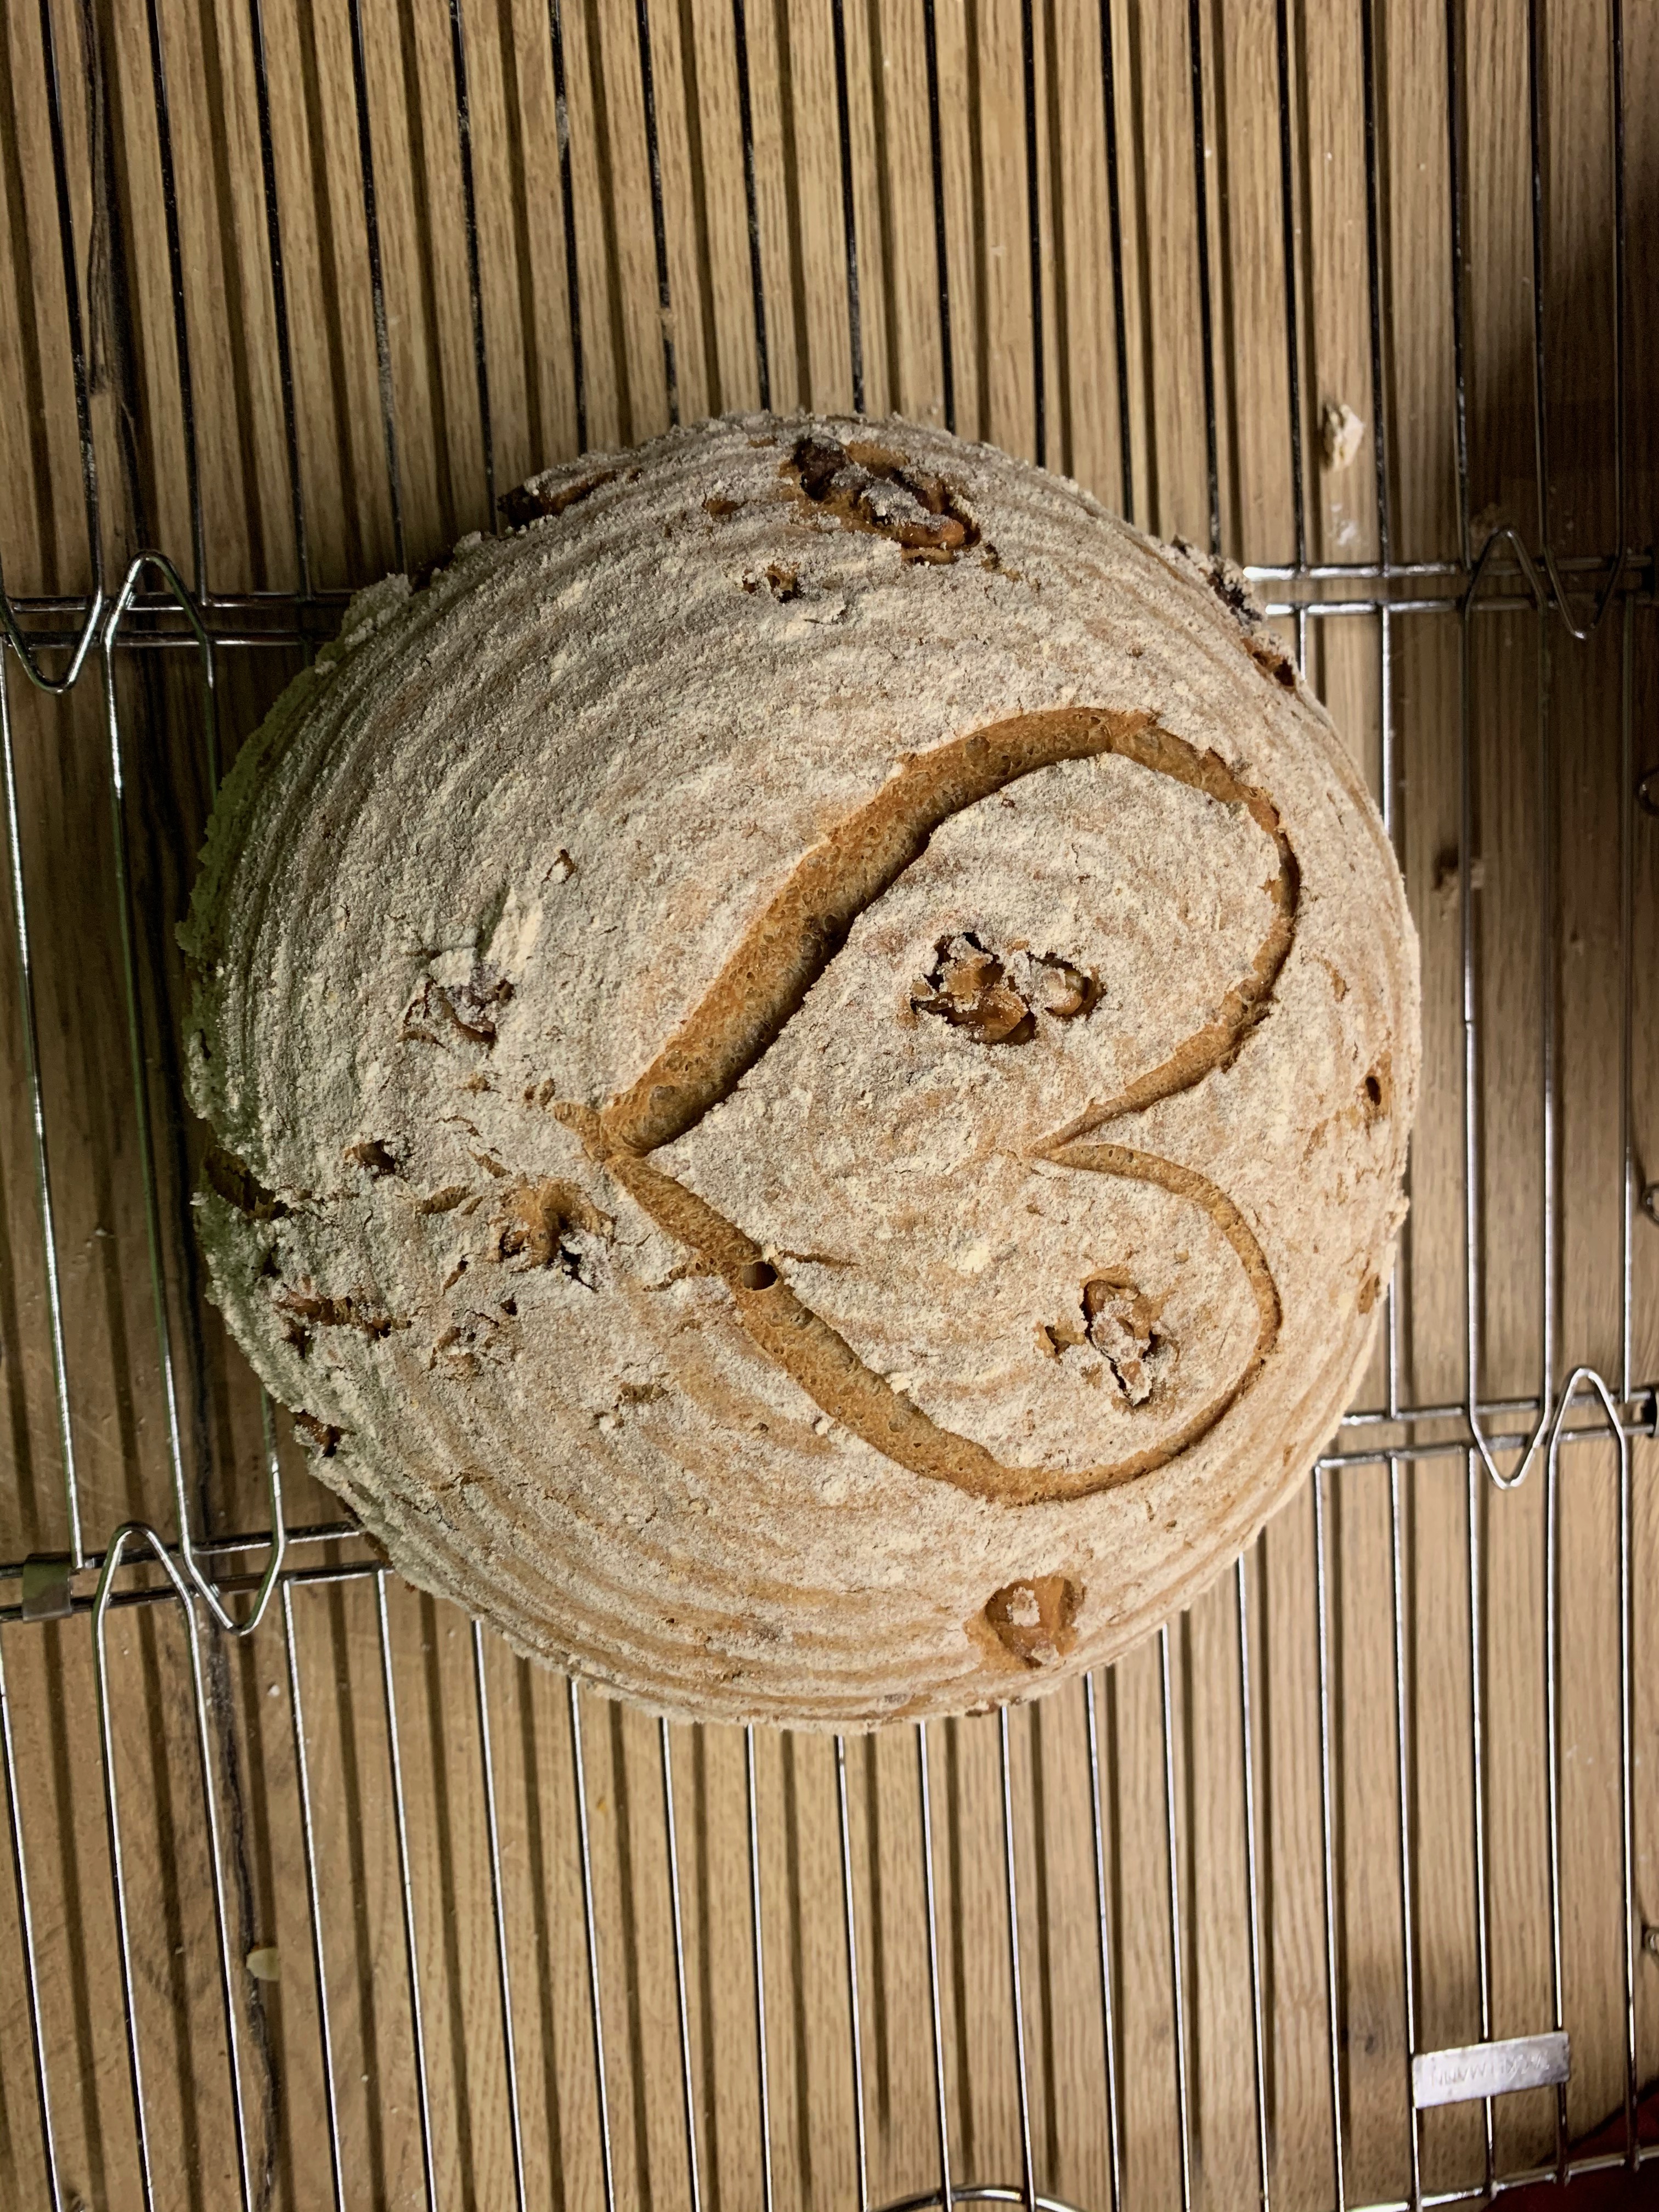
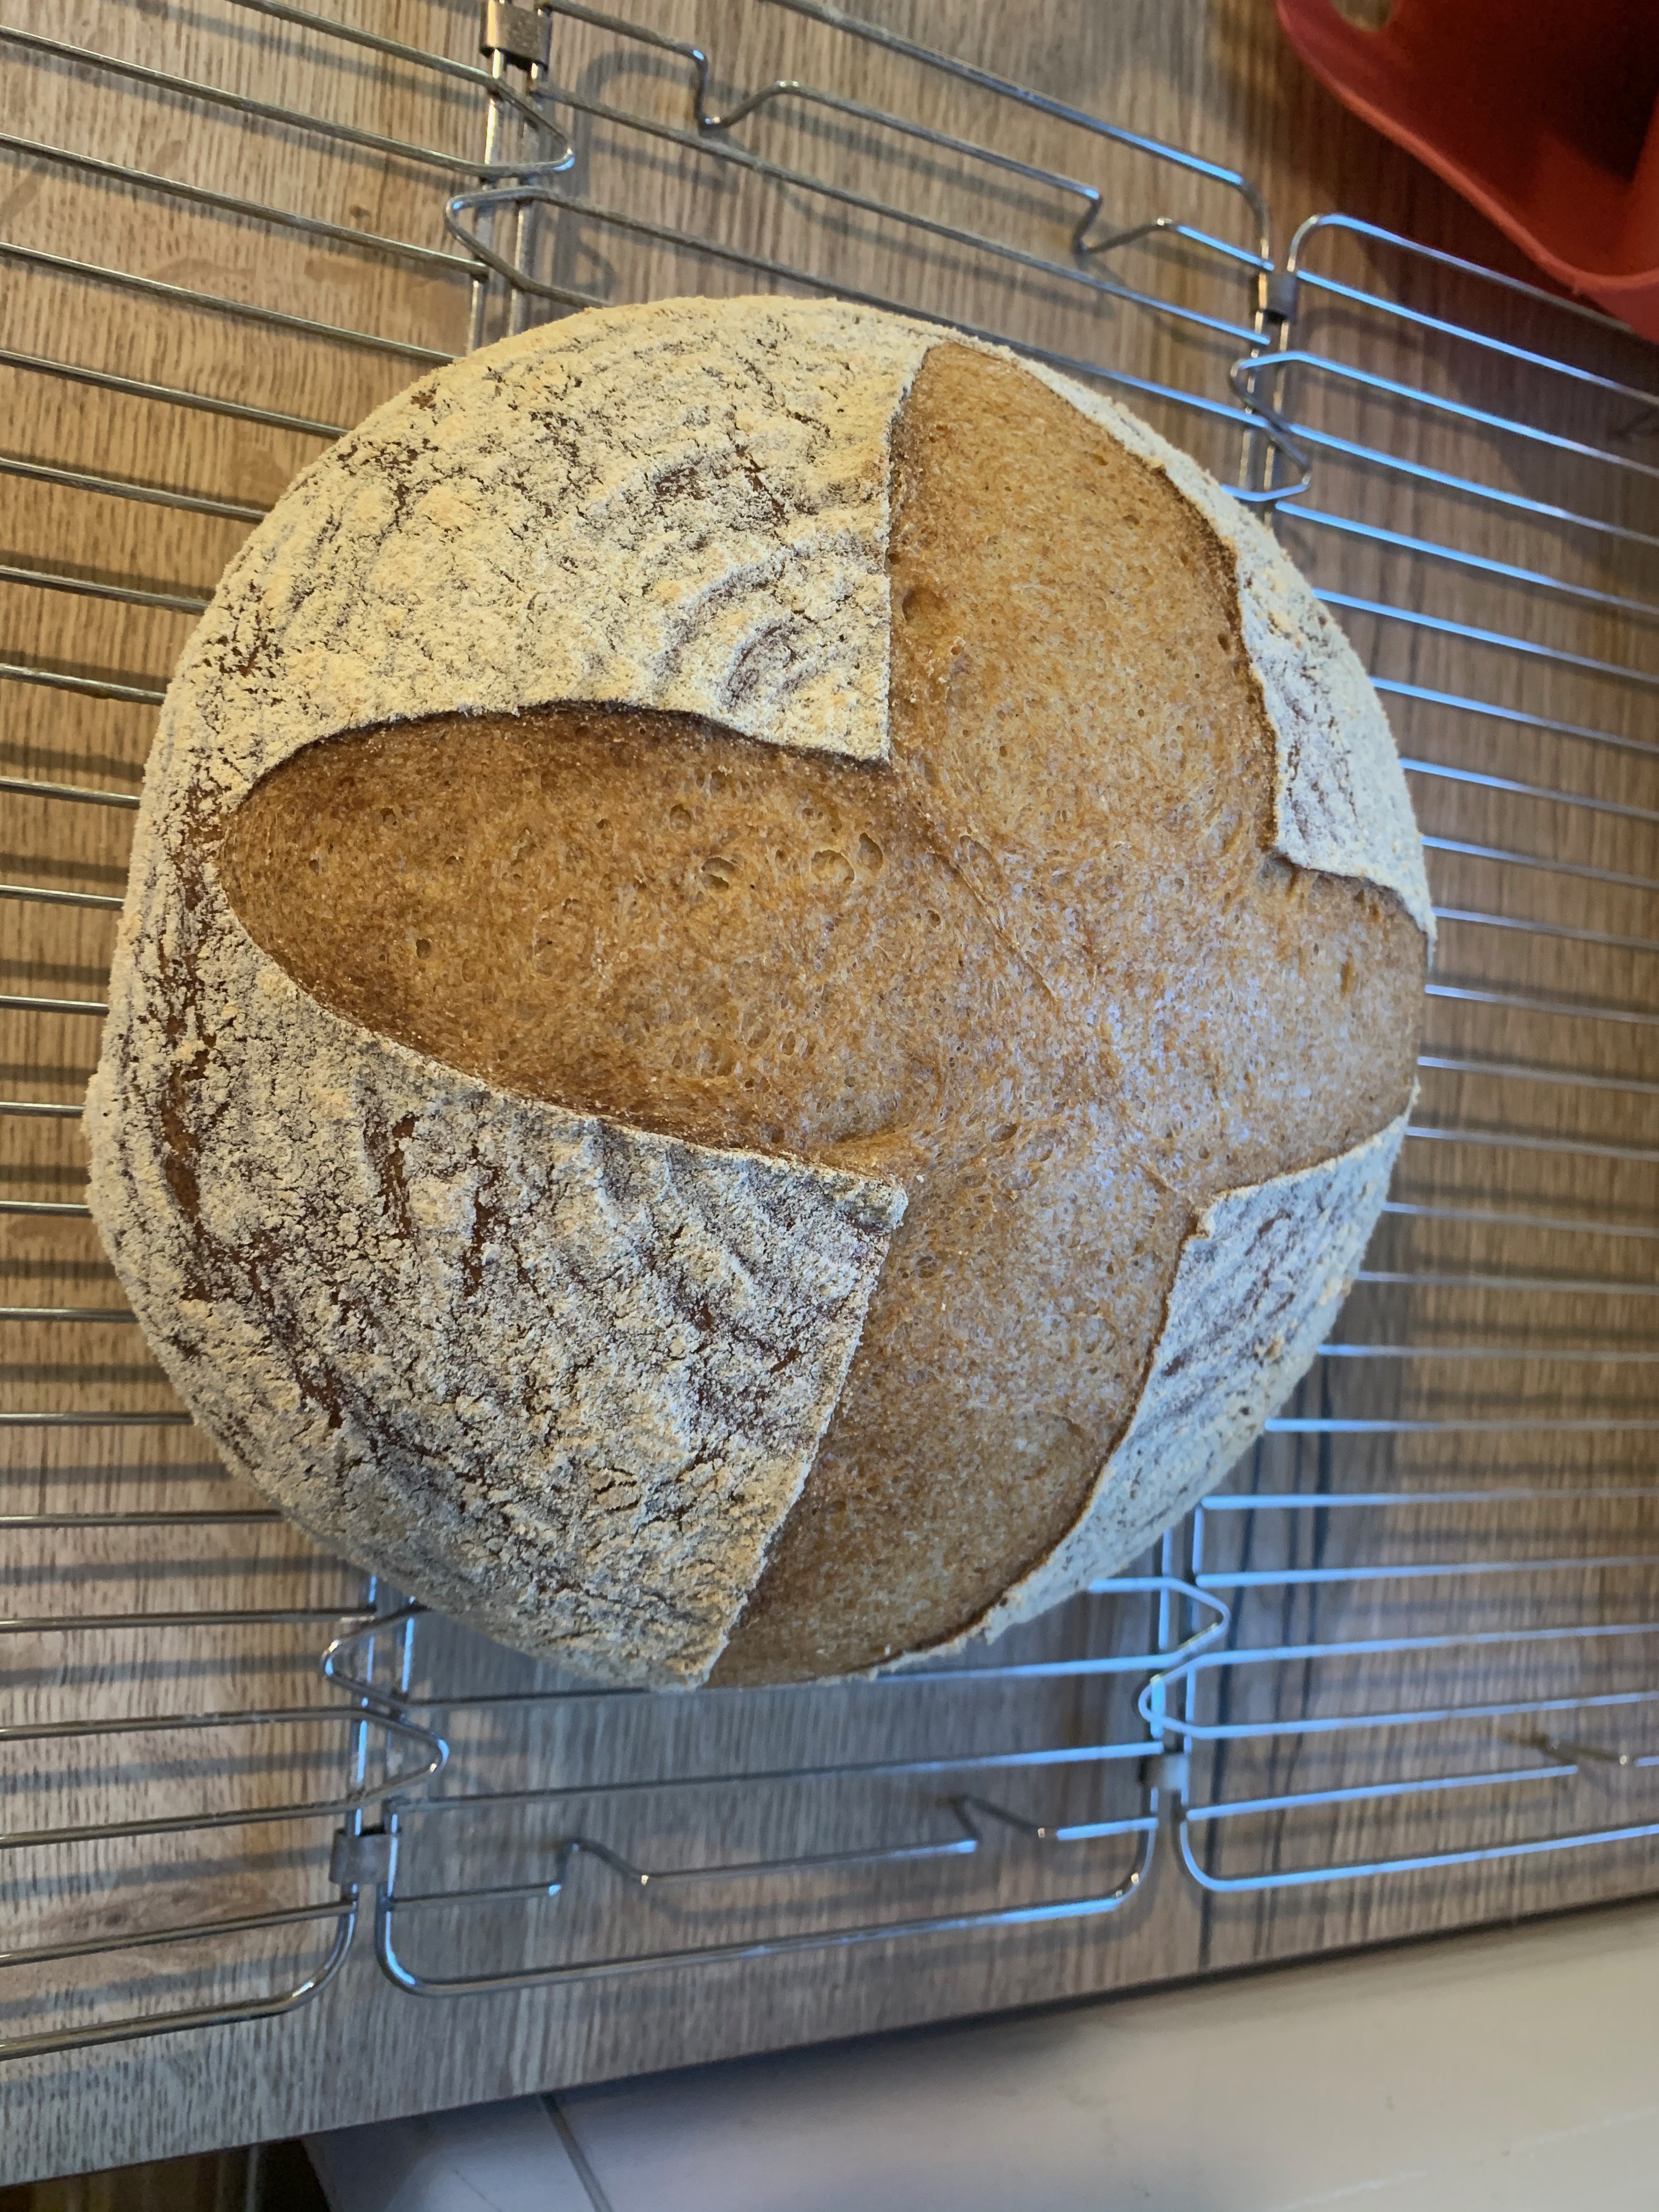
My 6 yo scored that one. 
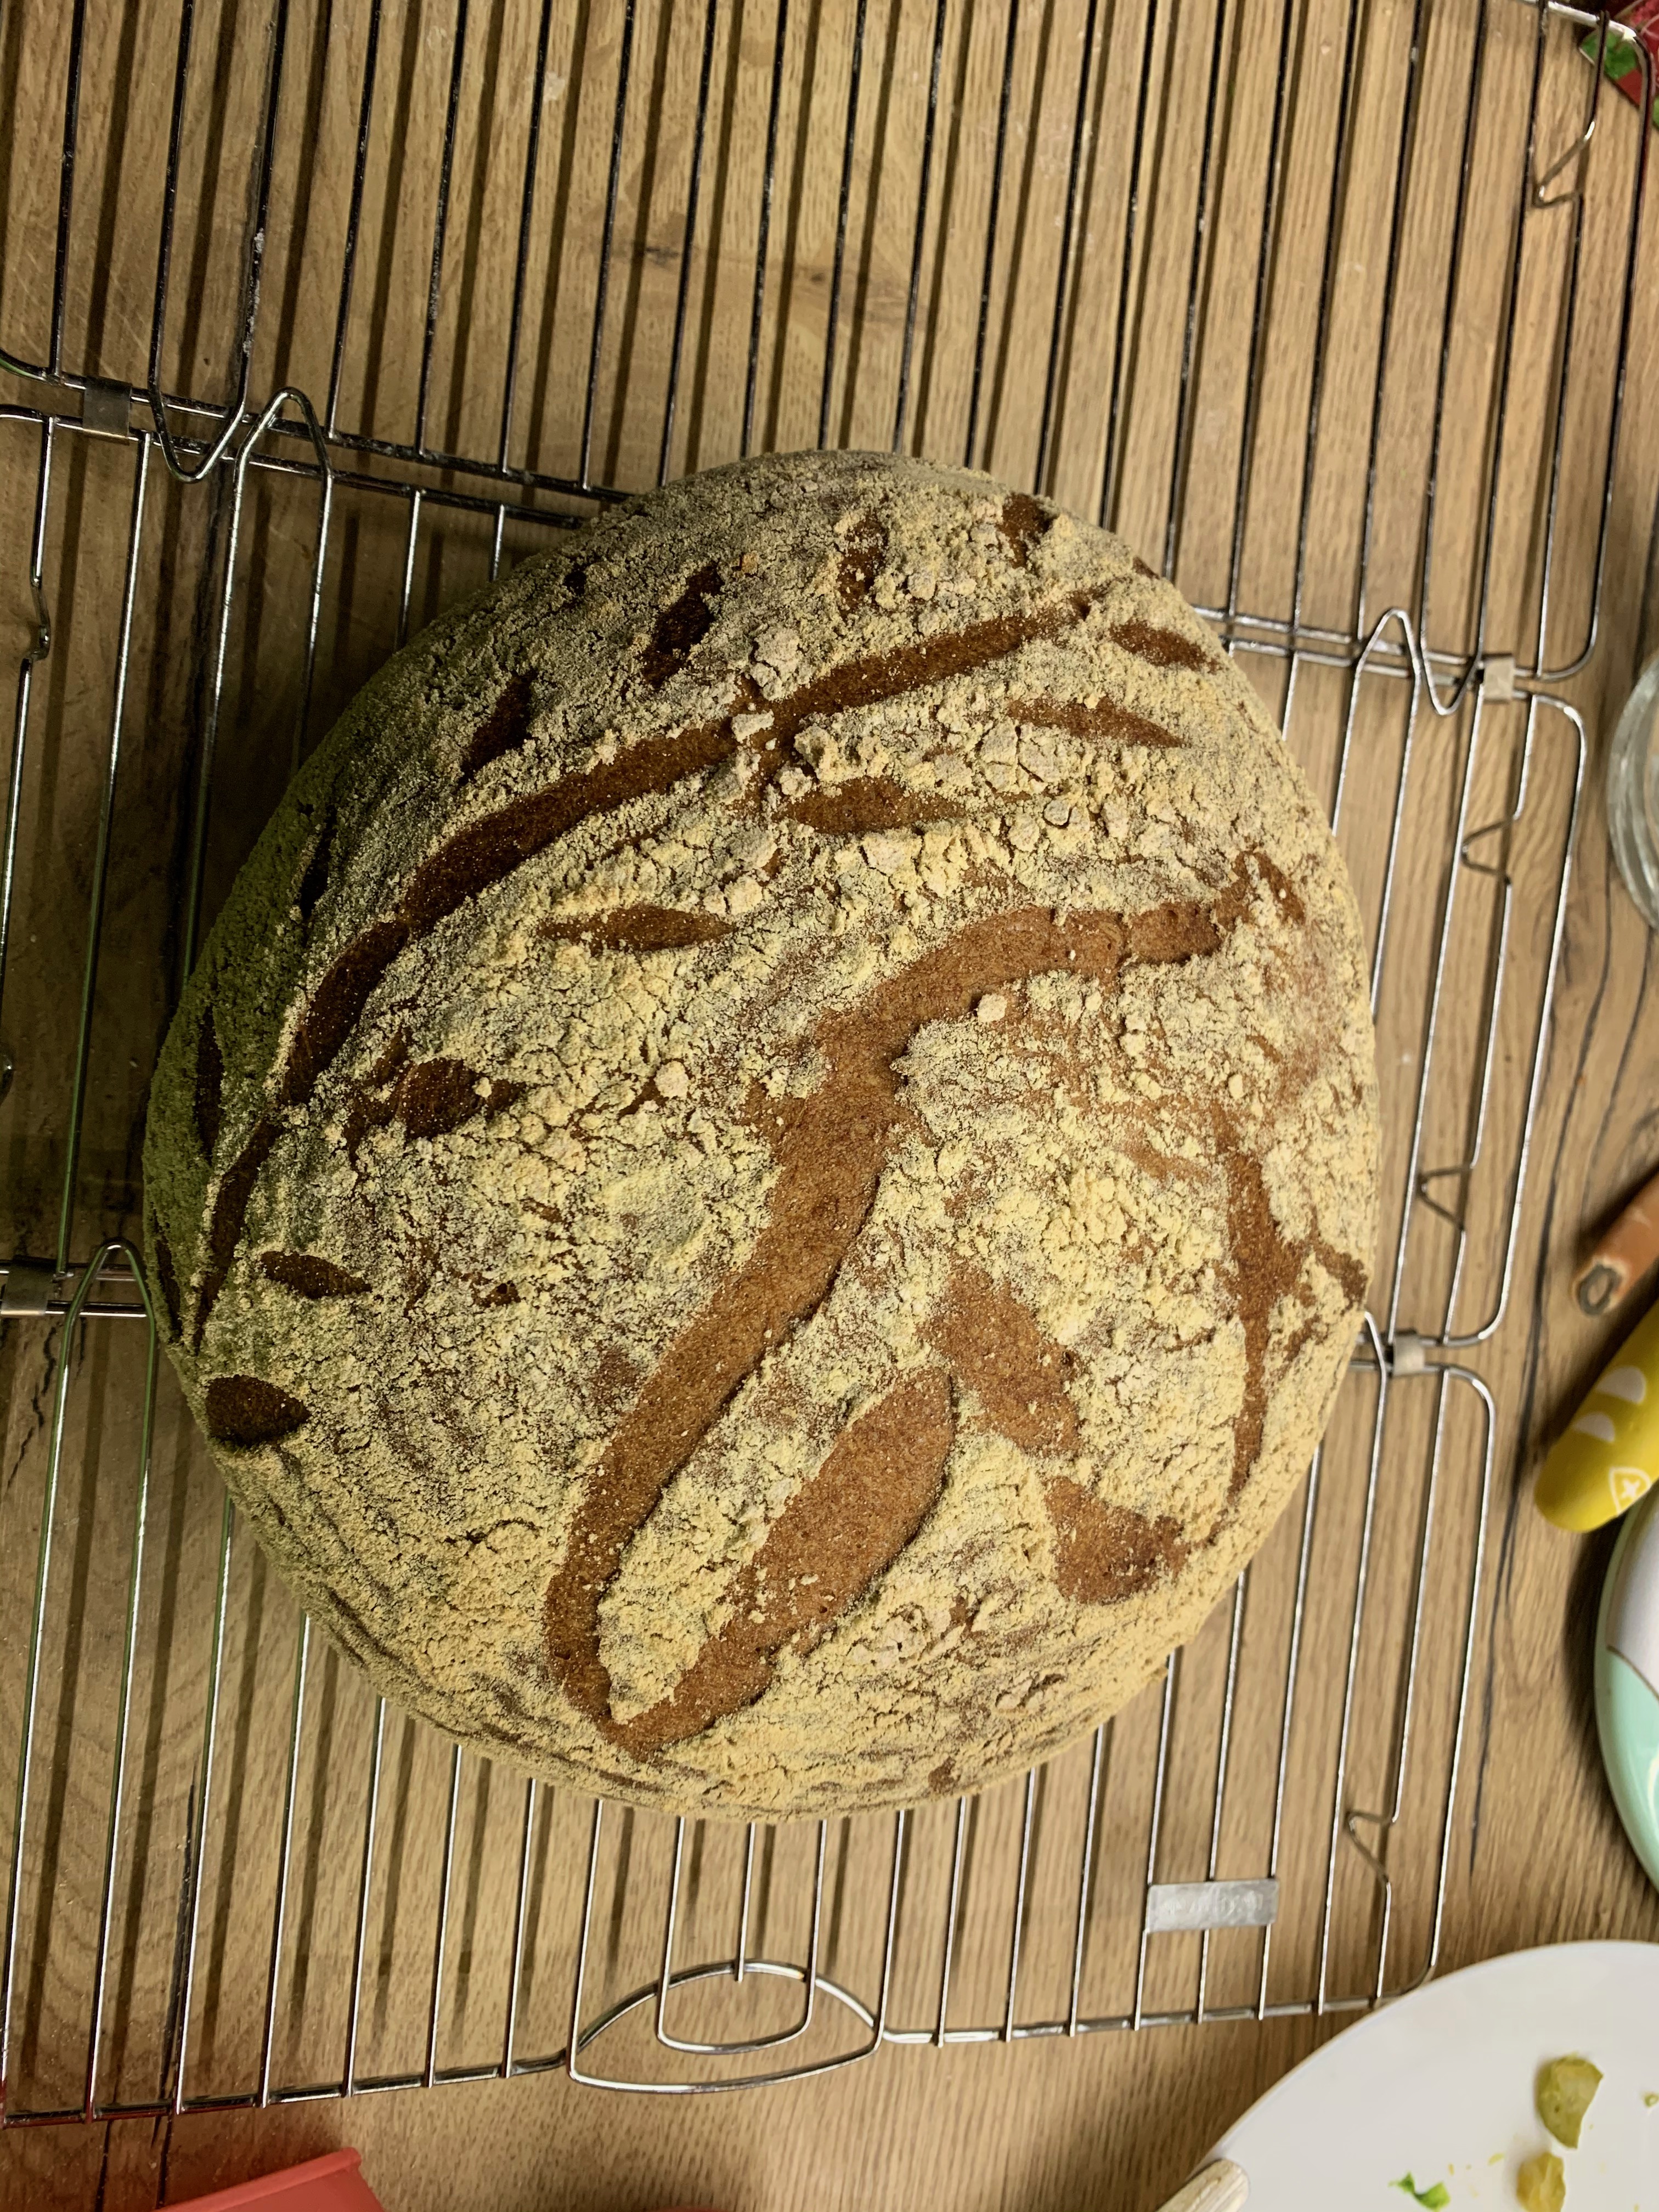
This one was too tall and bumped into the second tray covering it. 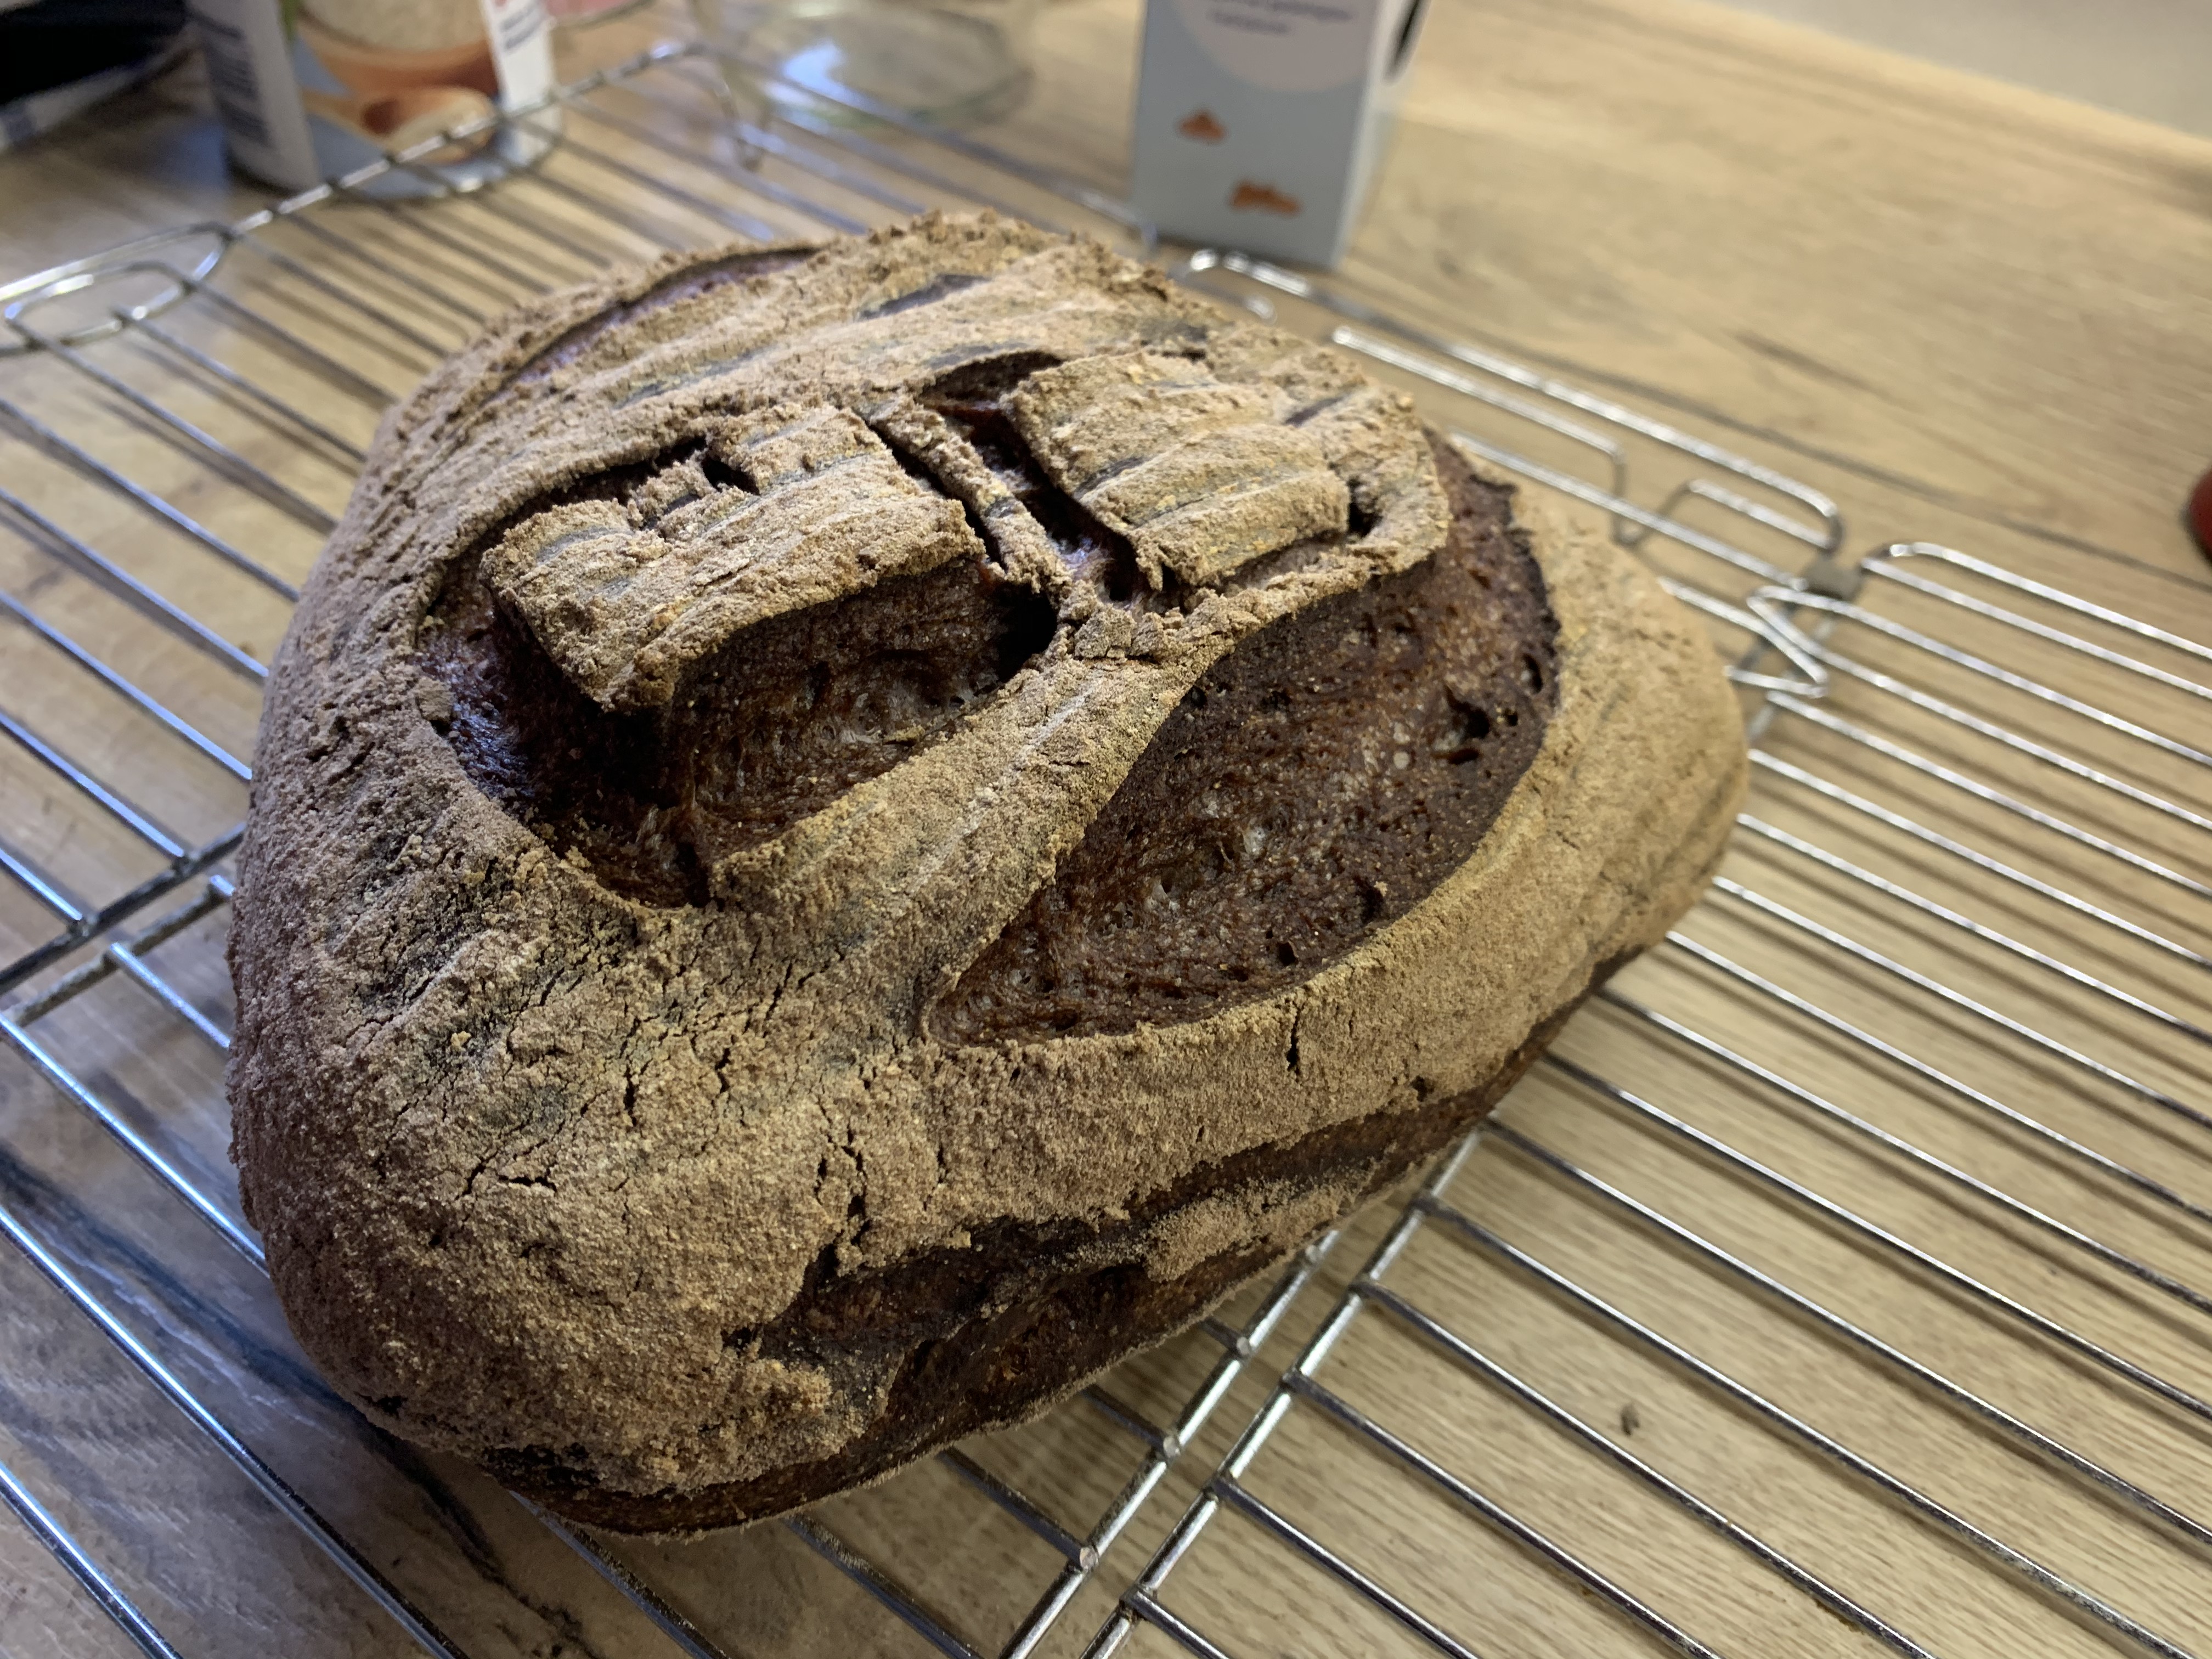
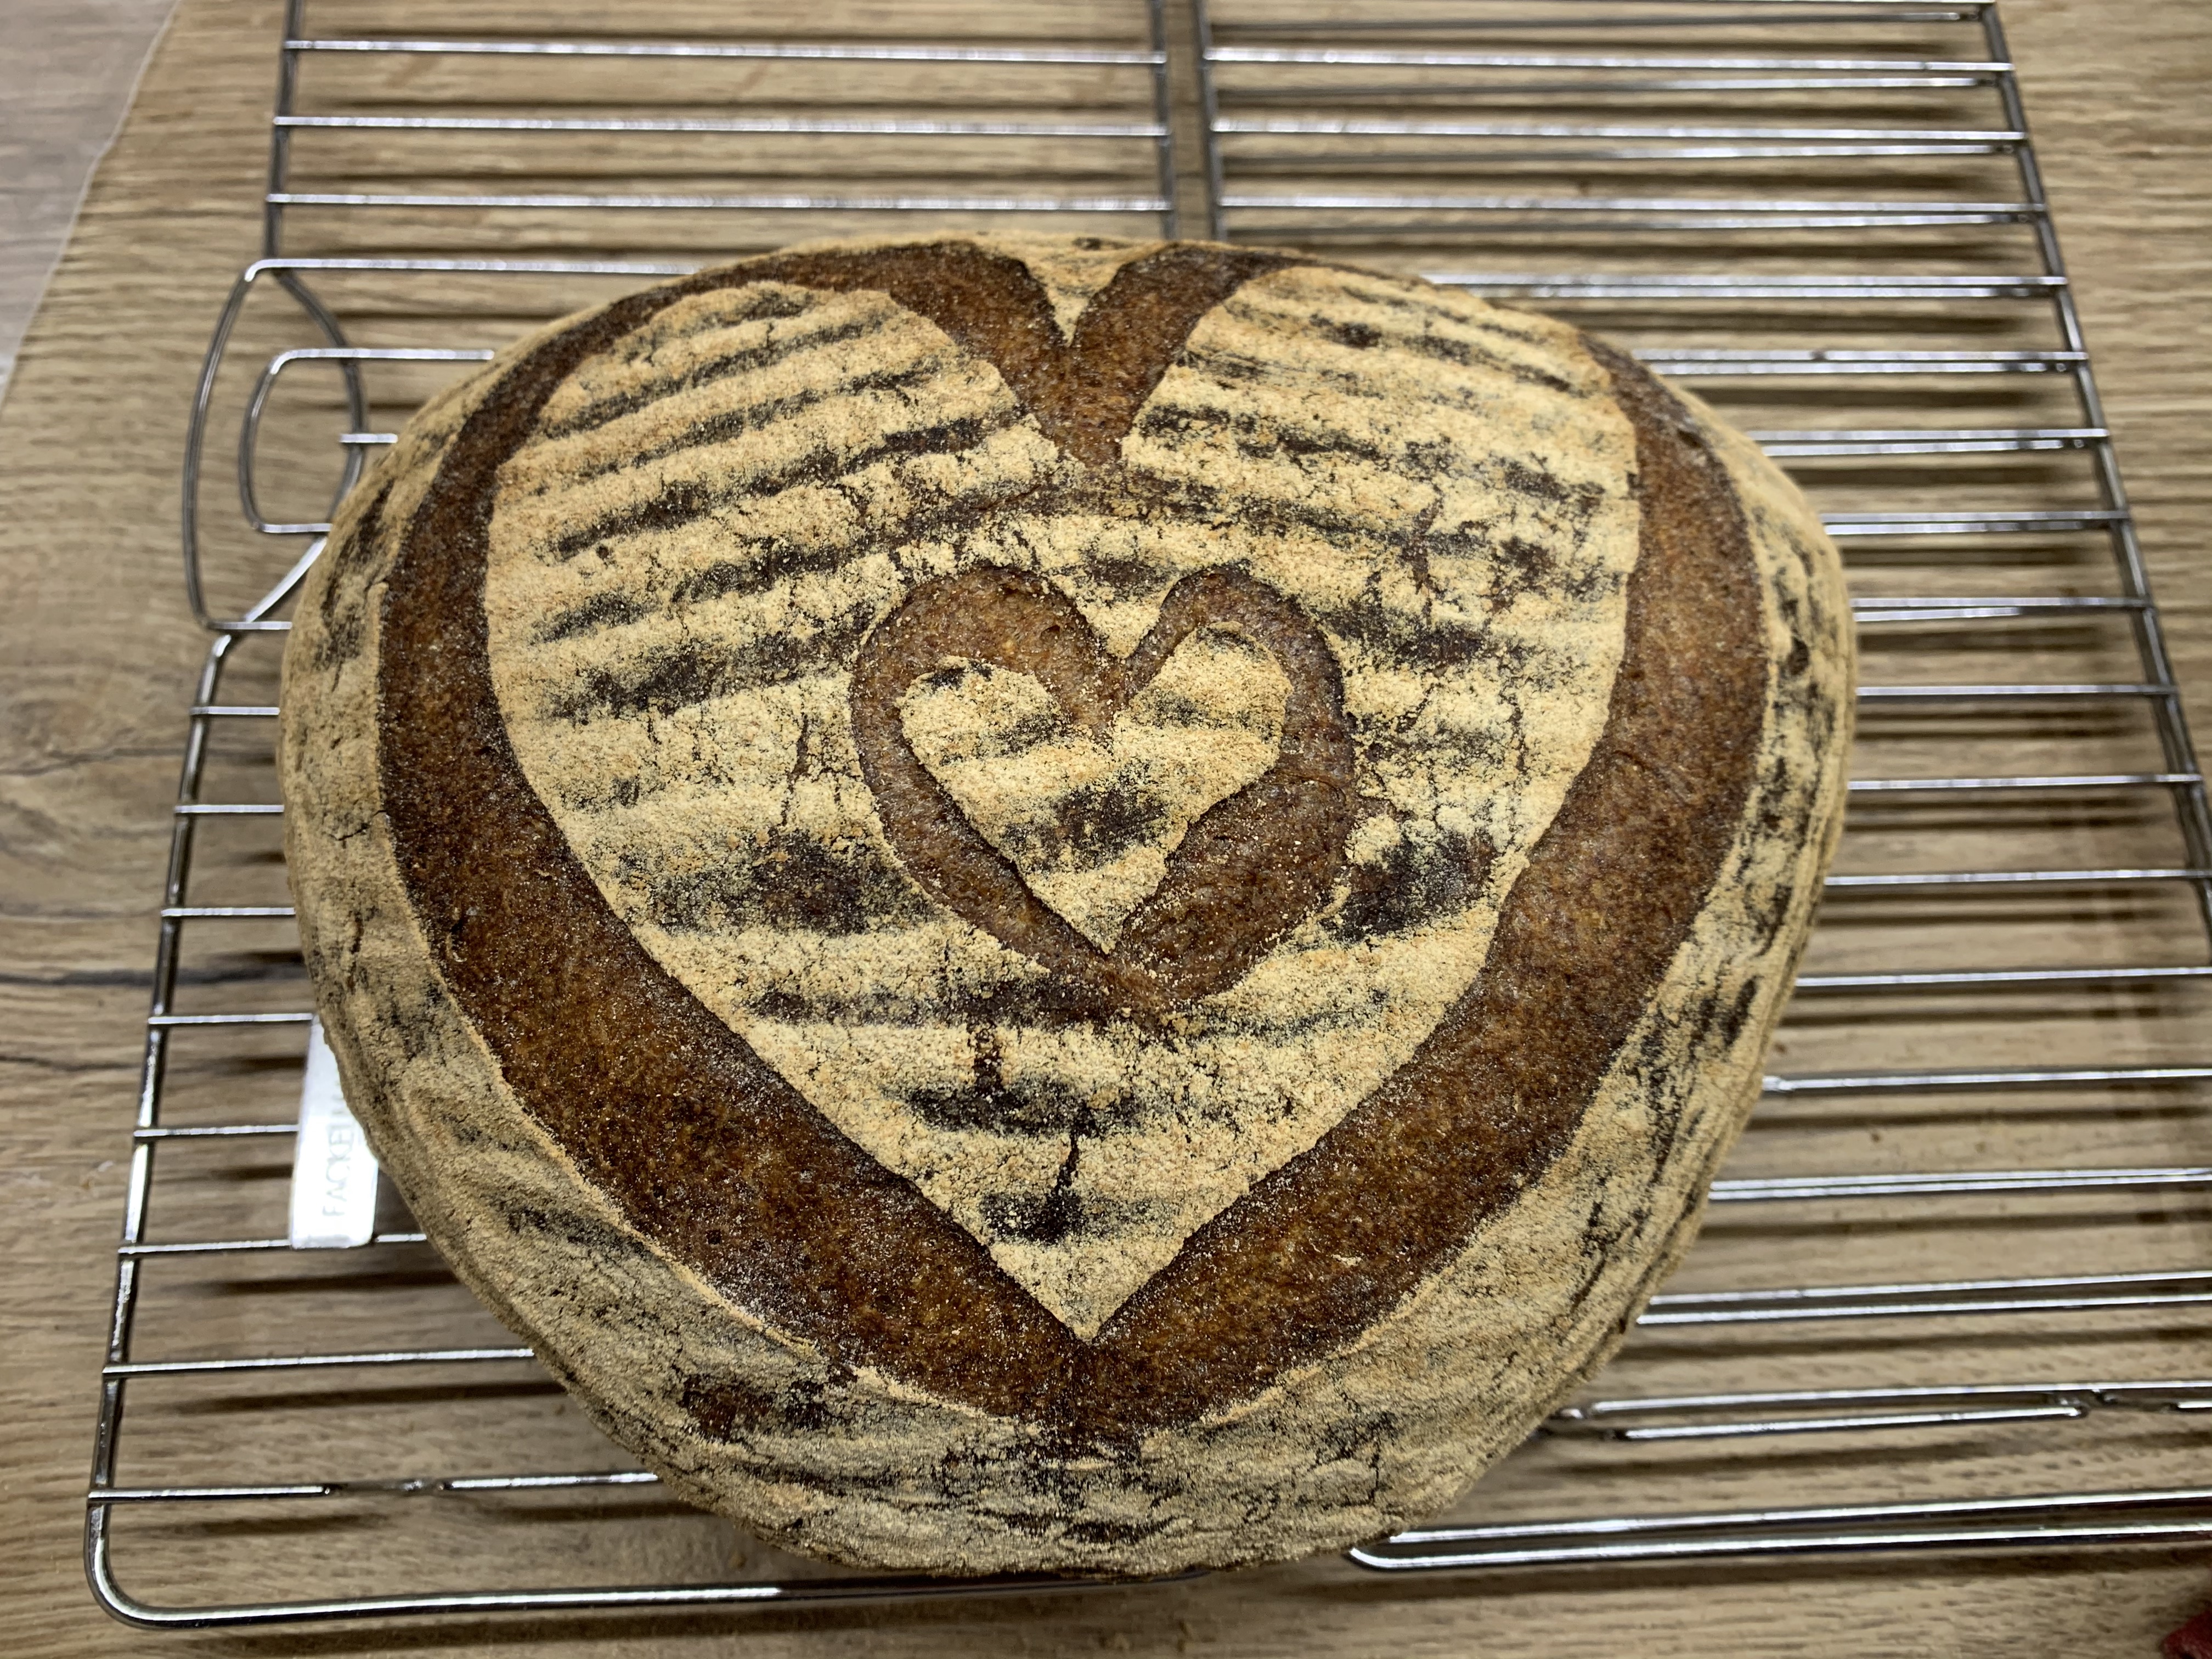
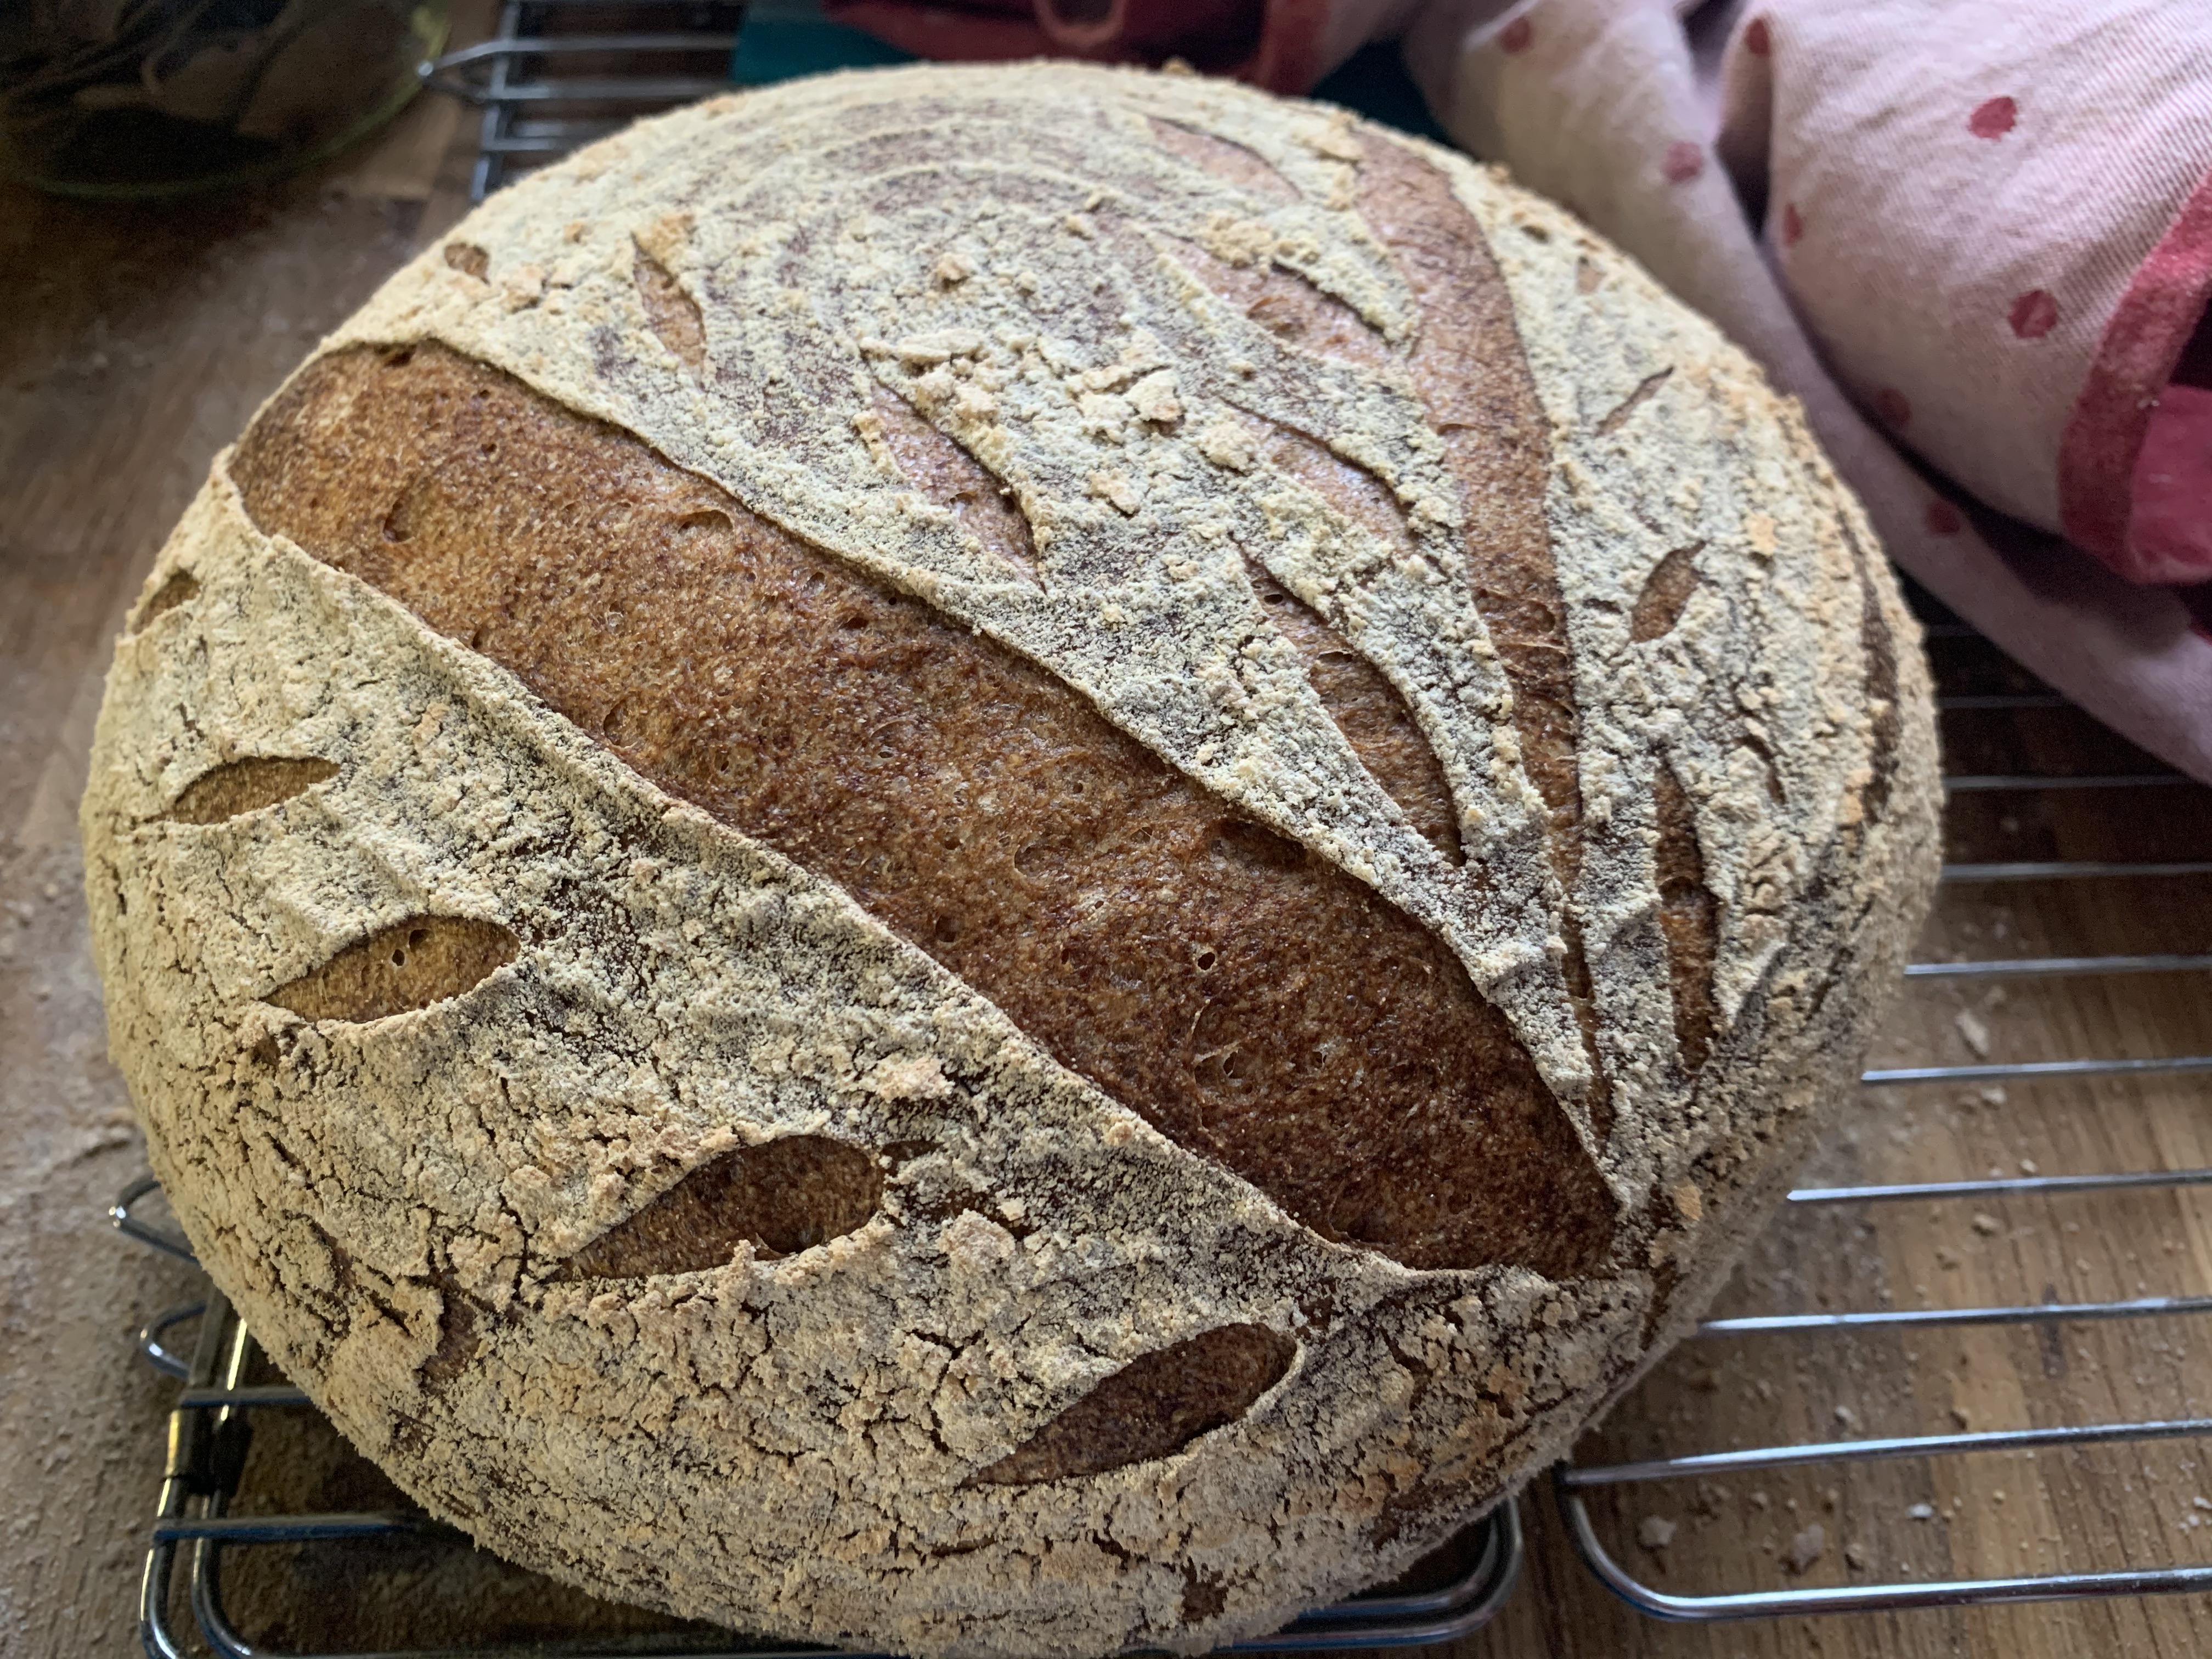
Another one scored by my son. 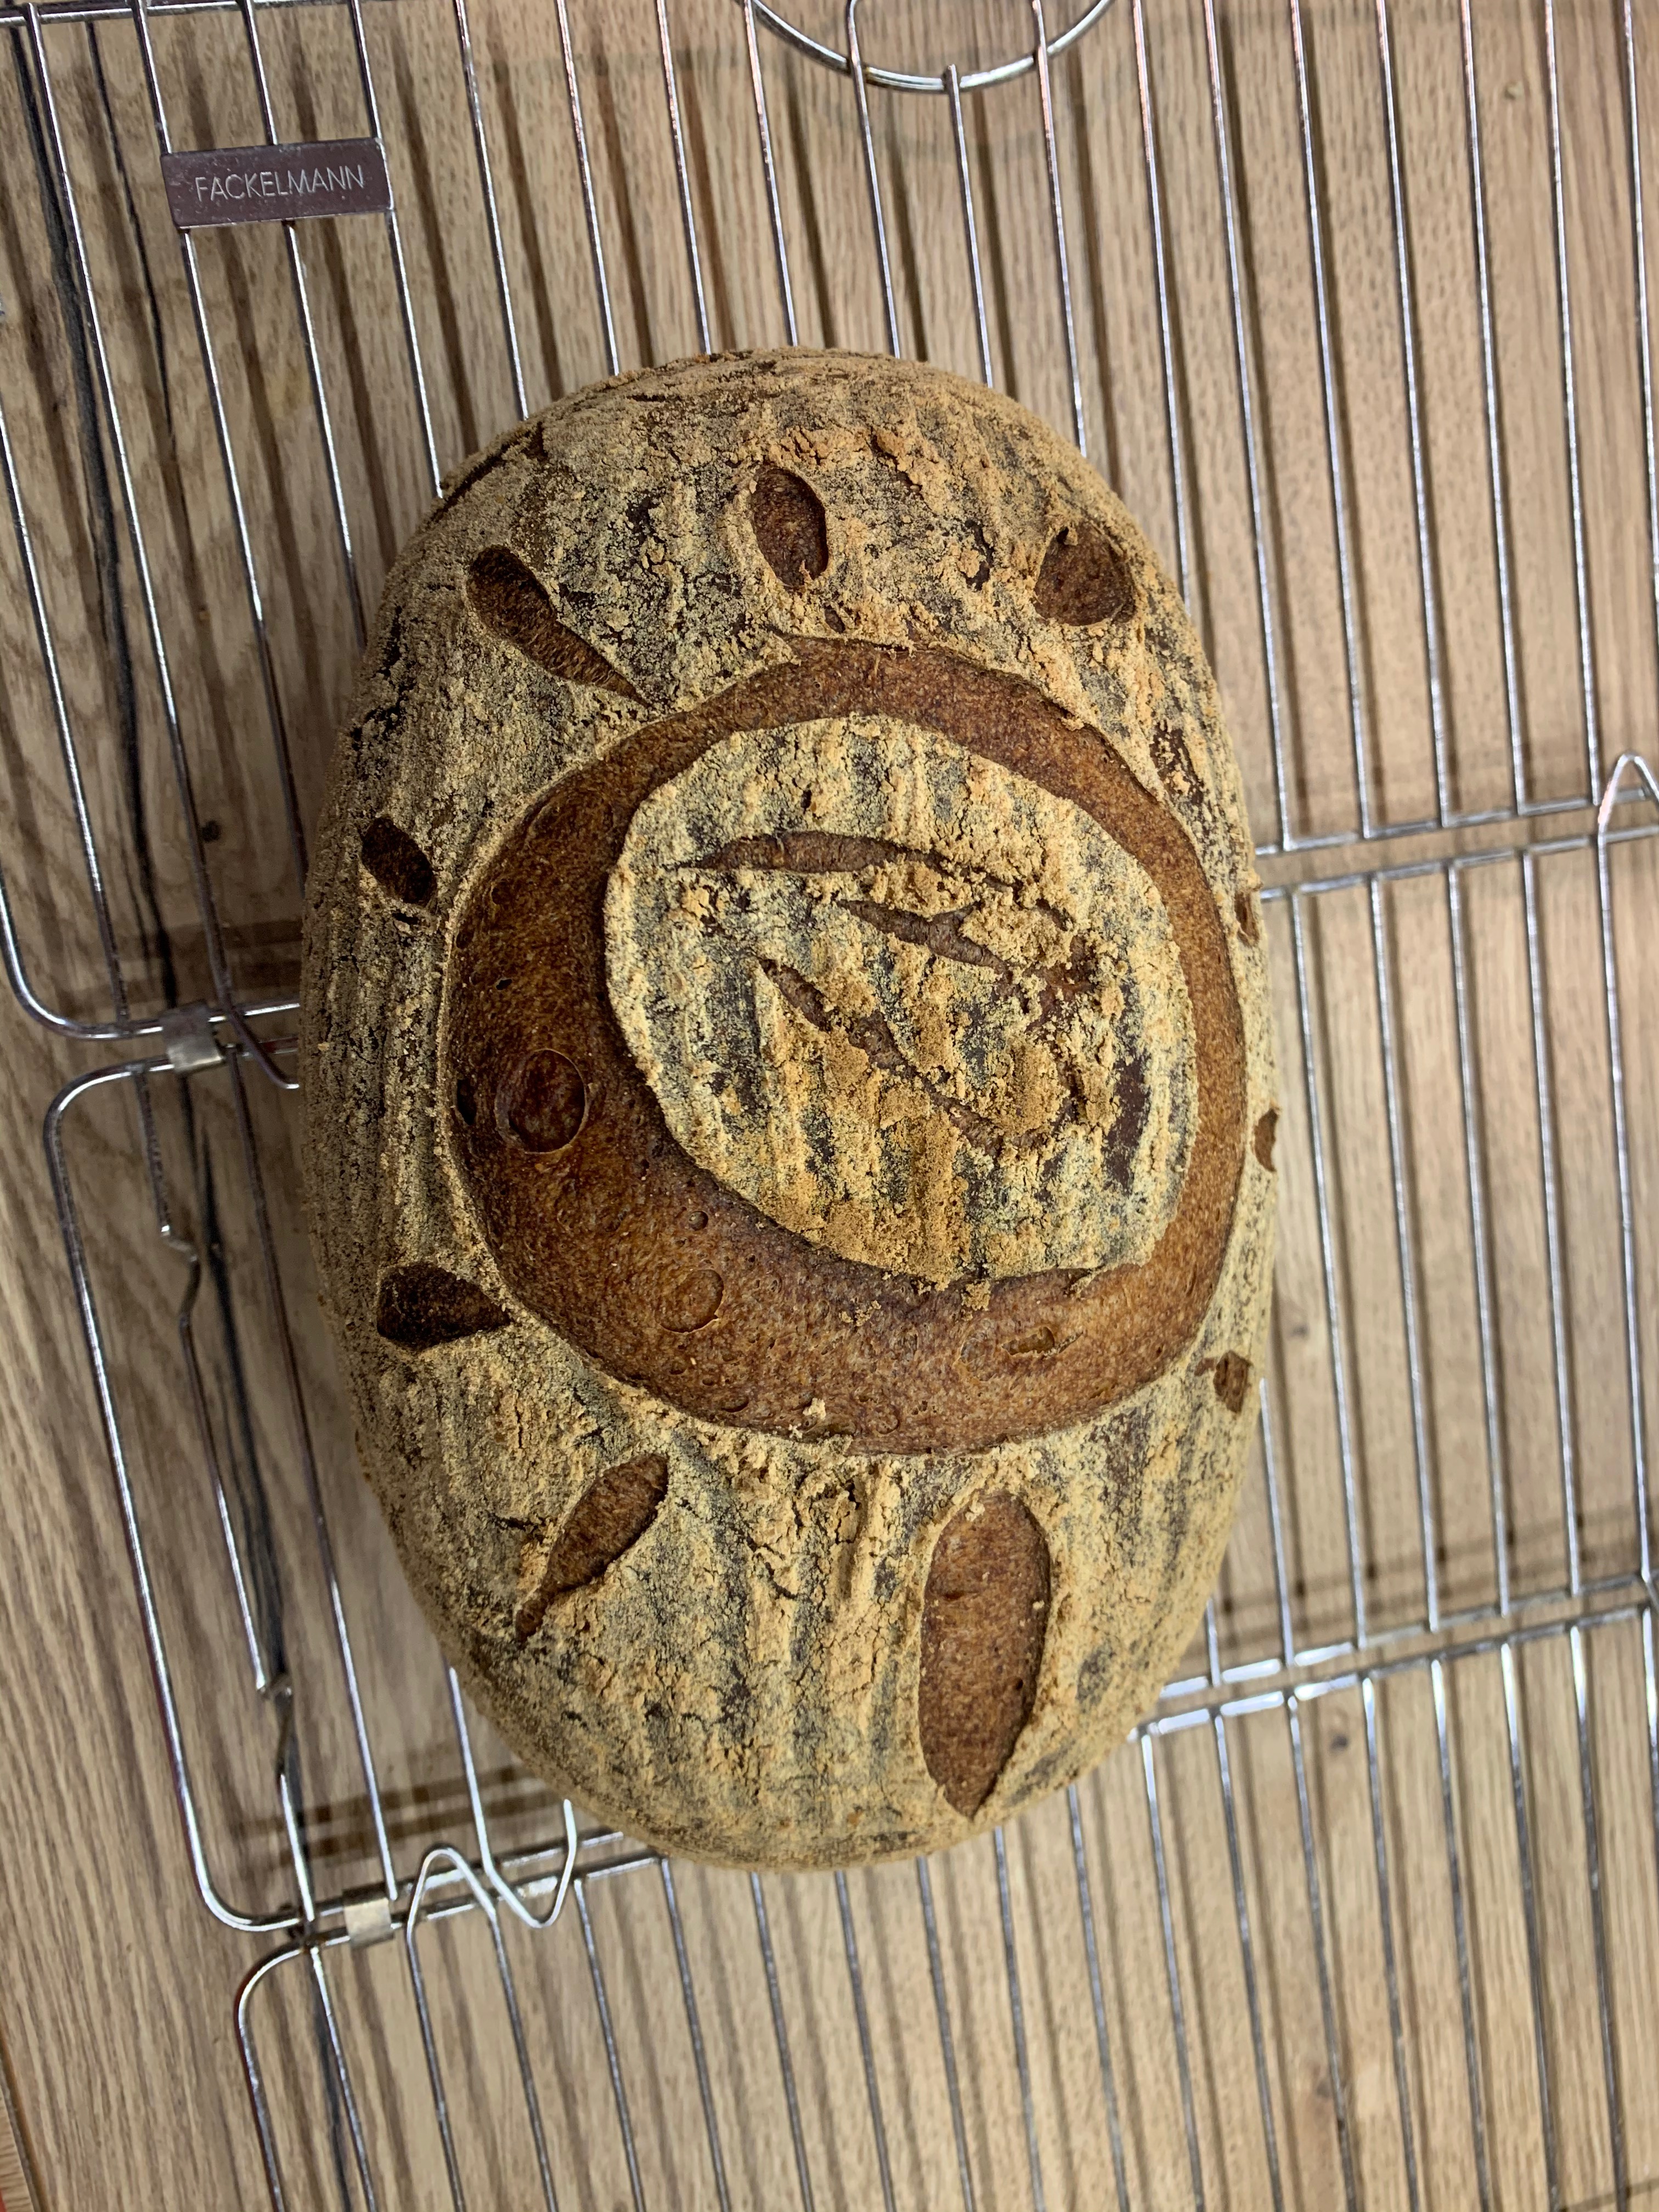
And another one scored by my son. 

Izakov in Aličin.